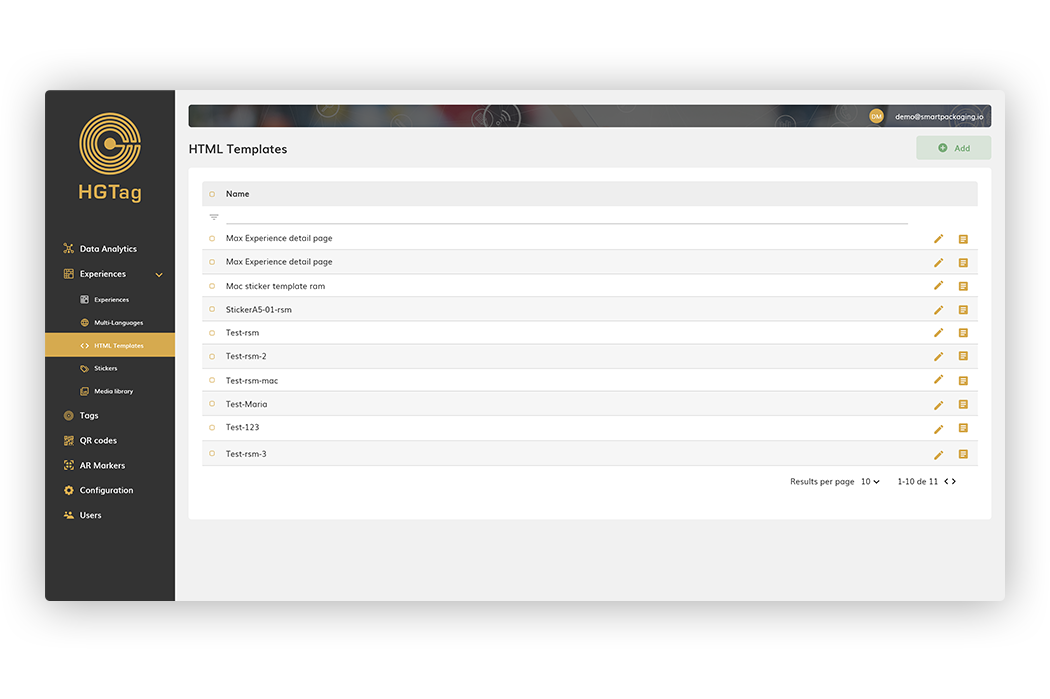
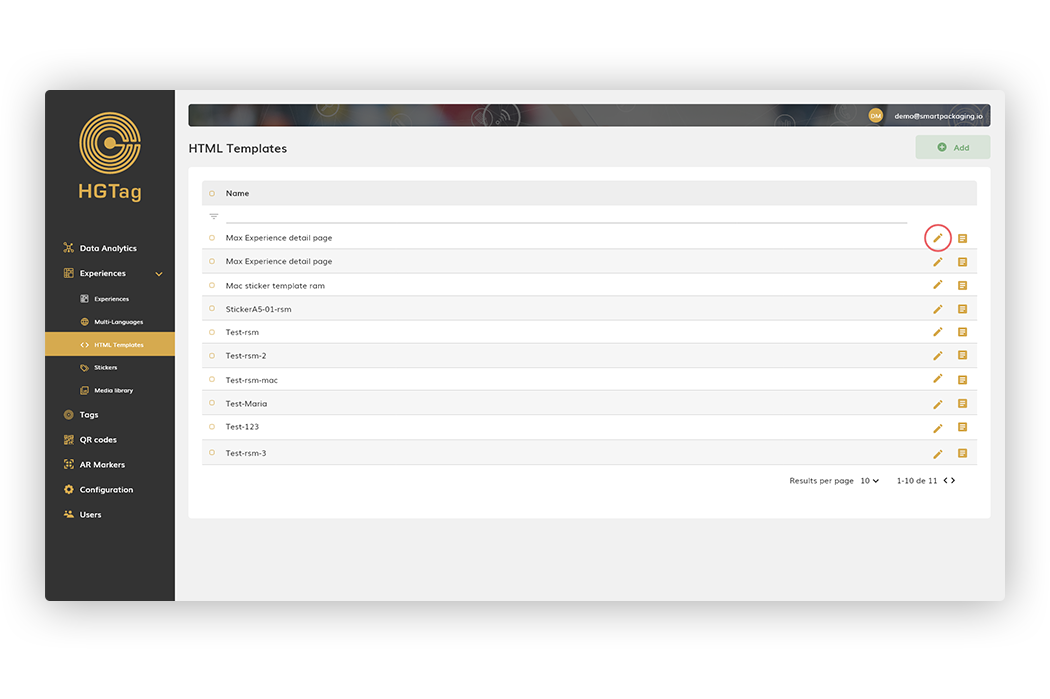
The HTML Templates section allows you to manage the different HTML templates: display/edit, add and delete templates.
All these templates can then be applied in the experiences or stickers, facilitating the creation of them.
By default, 10 are displayed per page, being able to move to another page or modify the display per page from the pagination:
You can also filter the data in the list by the name of the template. From the main list we can:
- Create a new template (detailed in the following sections).
- Edit existing template (detailed in following sections).
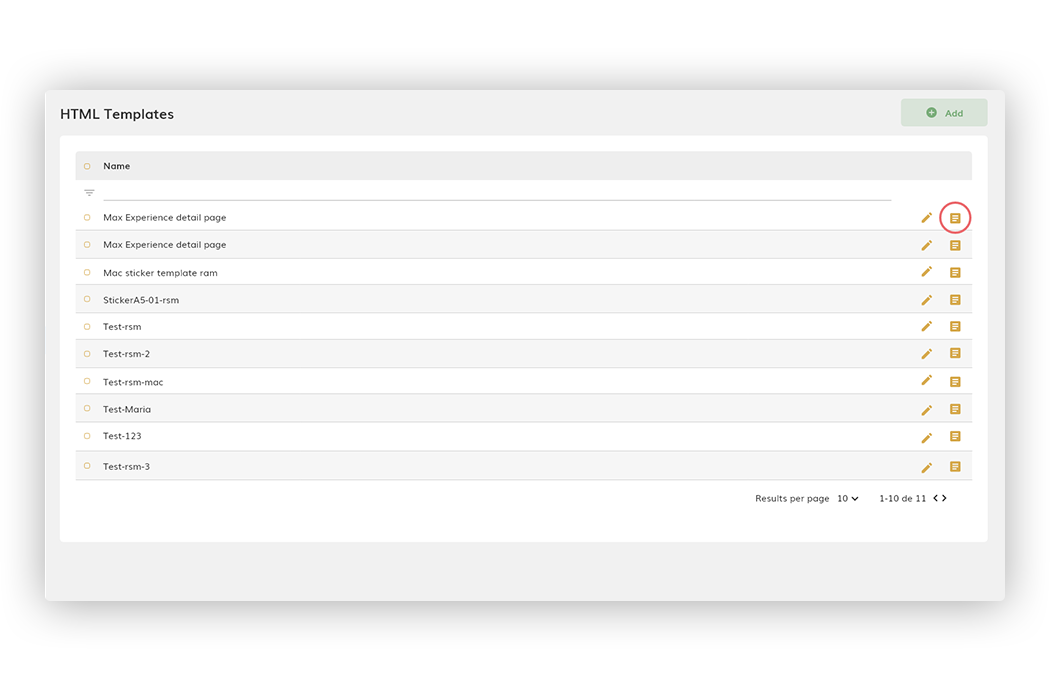
- Duplicate a template: for this it will be enough to press the duplicate button.
After that, a template will be created with the same name as the one we have duplicated, adding at the end of the name: year/month/day/hour/minutes/millisecond:
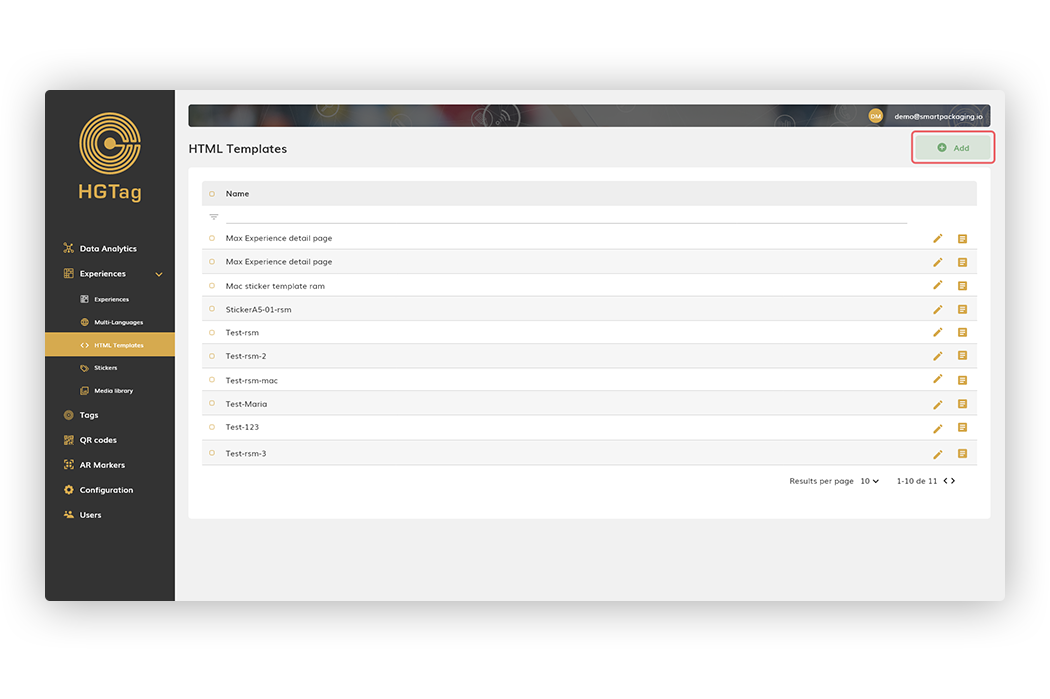
For the creation of a template we will use the Add button that we have on the right side of the header:
For editing the template, we will click Edit on the right side:
The rest of the functionalities are common for both creation or editing.
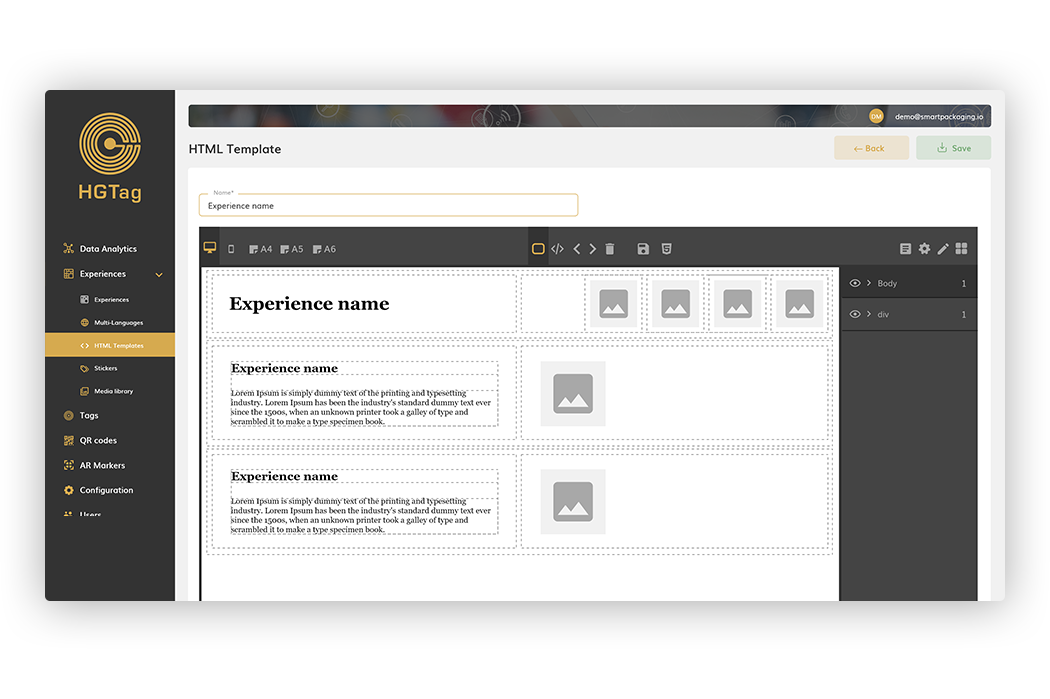
First, you will need to input a name for your template, then you can begin designing your HTML template.
The operation of the editor is the same as in the experiences (detailed in https://academy.hgtag.com/documentation/experiences/#html-editor). The only difference is:
- We will only have one page, the design of the templates is individual.
- You can add the element type named image, but not the specific reference to an image. This will be indicated in the experience or sticker where the template is applied
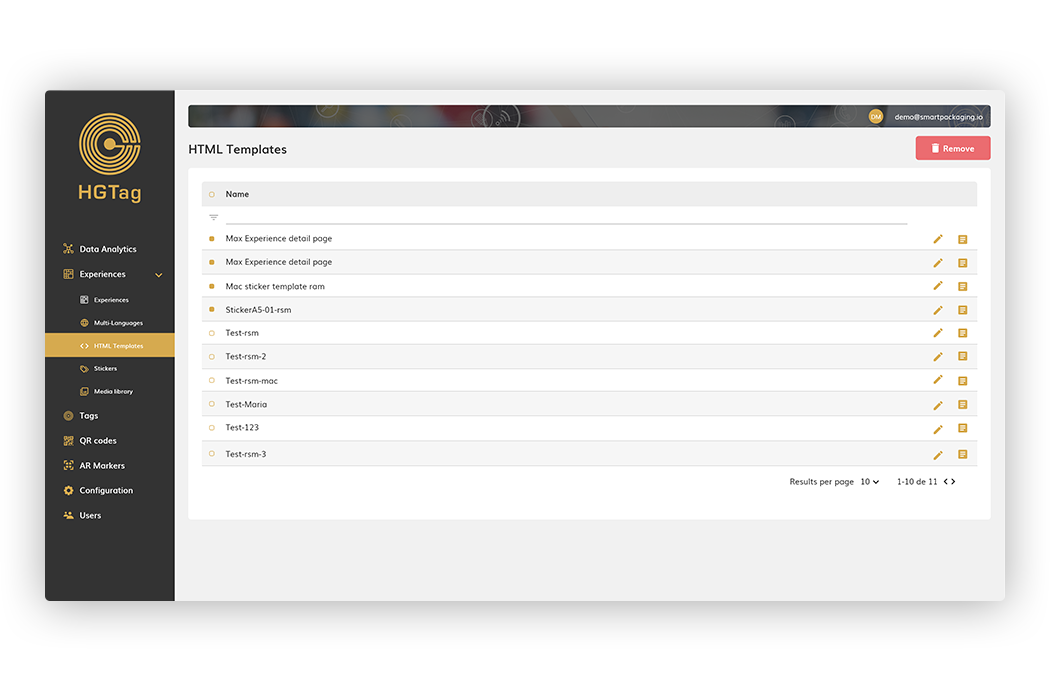
To delete one or more HTML templates, it is enough to select them with the check field and press the Remove button: