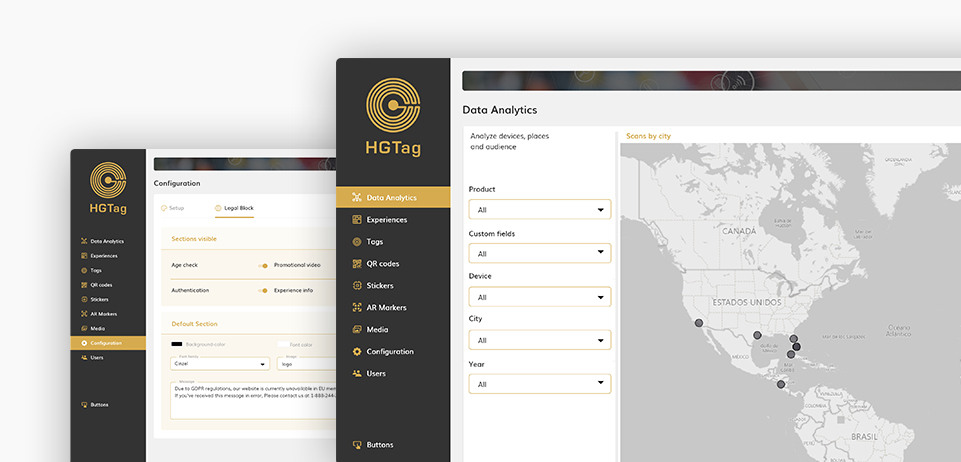
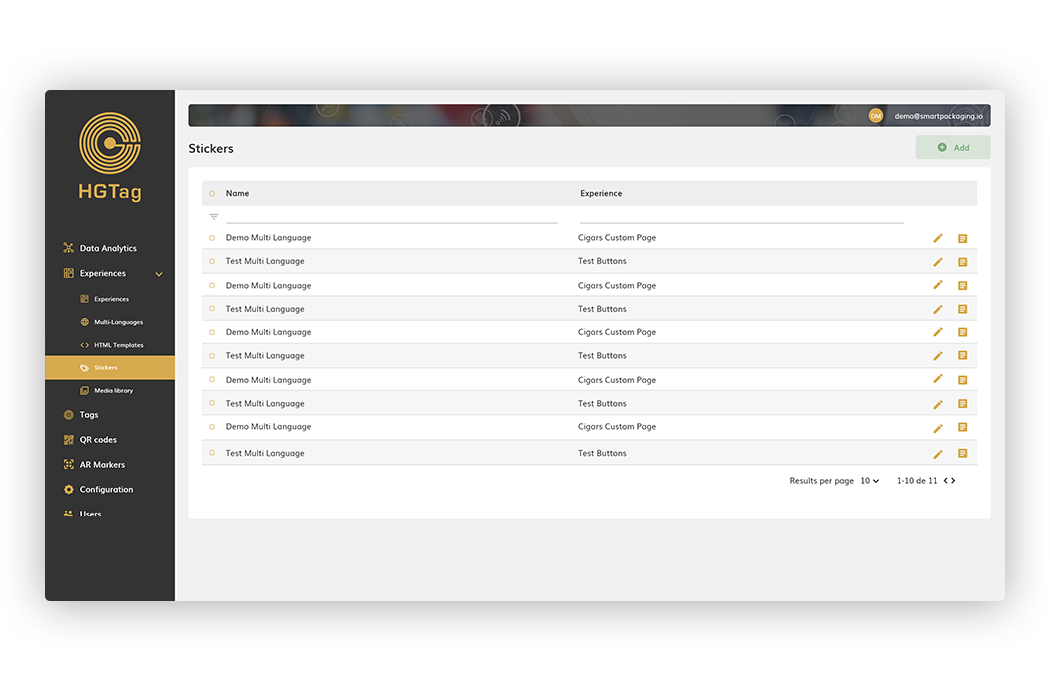
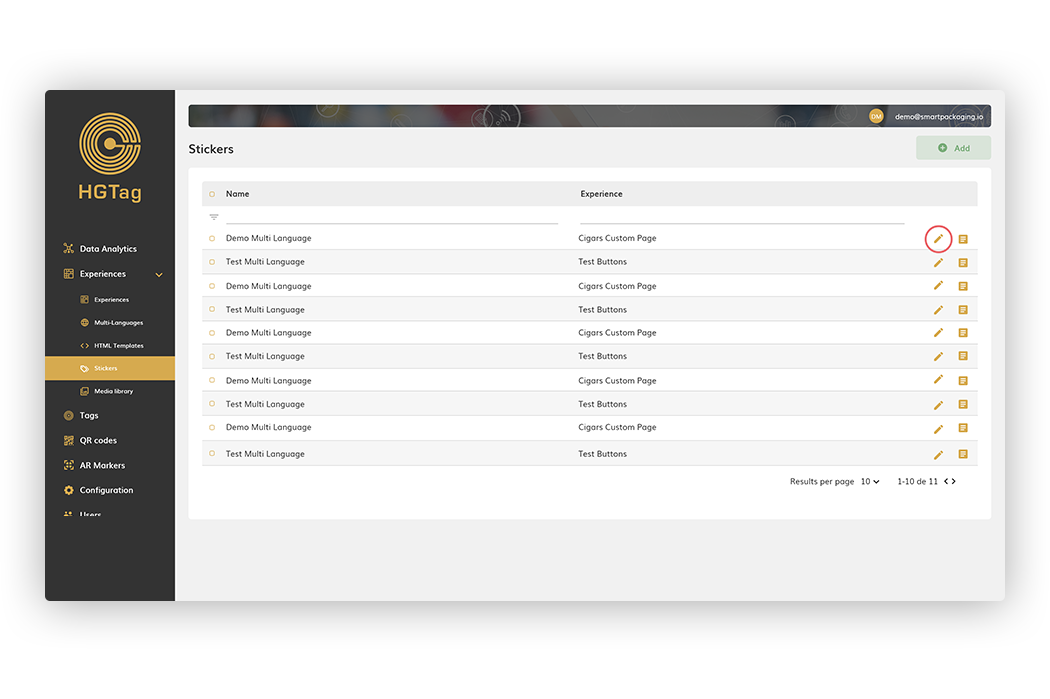
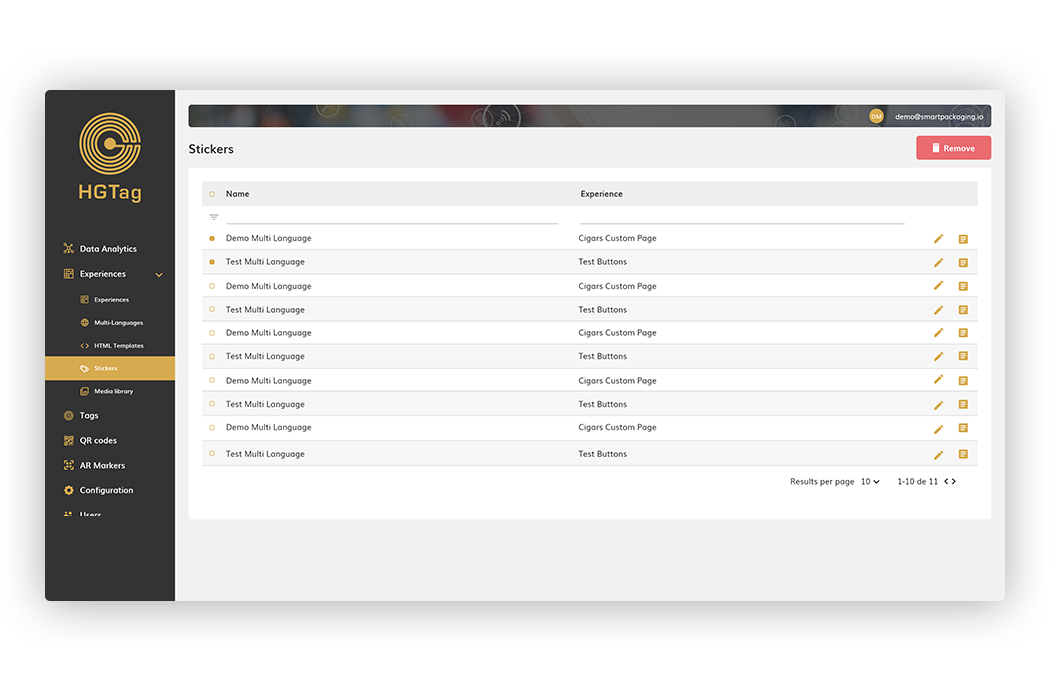
The Stickers section allows you to manage the platform’s tags: display/edit, add and delete tags.
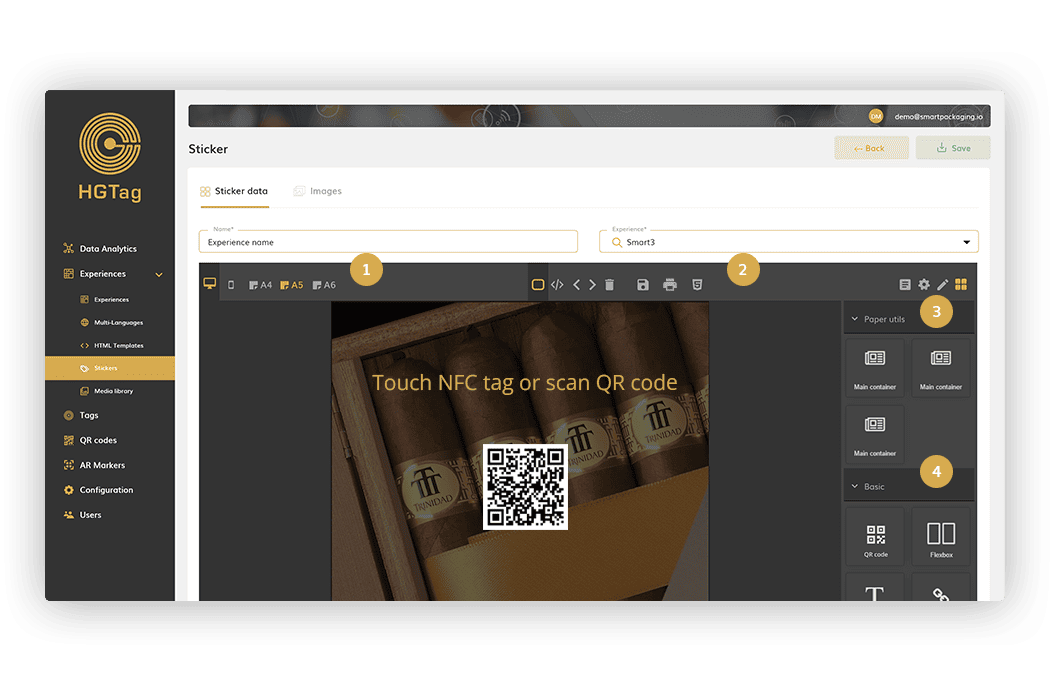
These tags will allow you to design a page in sizes A4, A5 or A6 with important information about a product and adding in it a QR that refers to the experience to be viewed.
By default, 10 are displayed per page, being able to move to another page or modify the display per page from the pagination:
You can also filter the data in the list by the name of the tag or by the experience associated with it.
From the main list we can:
• Create a new label (detailed in the following sections).
• Edit existing label (detailed in following sections).
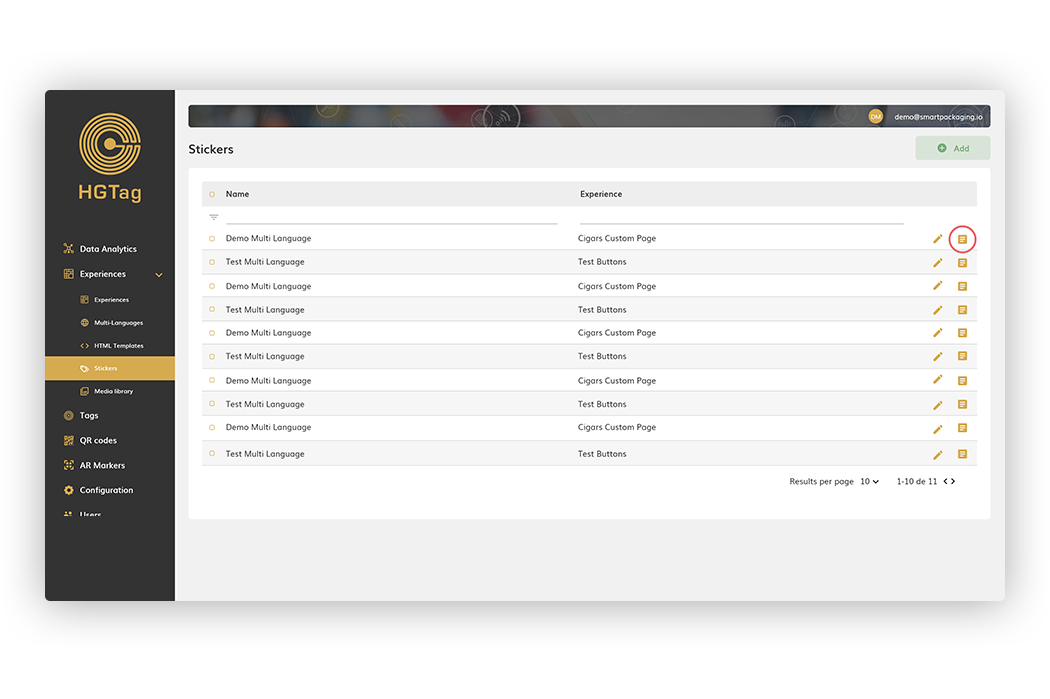
• Duplicate a label: for this it will be enough to press the duplicate button
After that, a label will be created with the same name as the one we have duplicated, adding at the end of the name: year/month/day/hour/minutes/millisecond:
• Delete sticker(s) (detailed in the following sections).
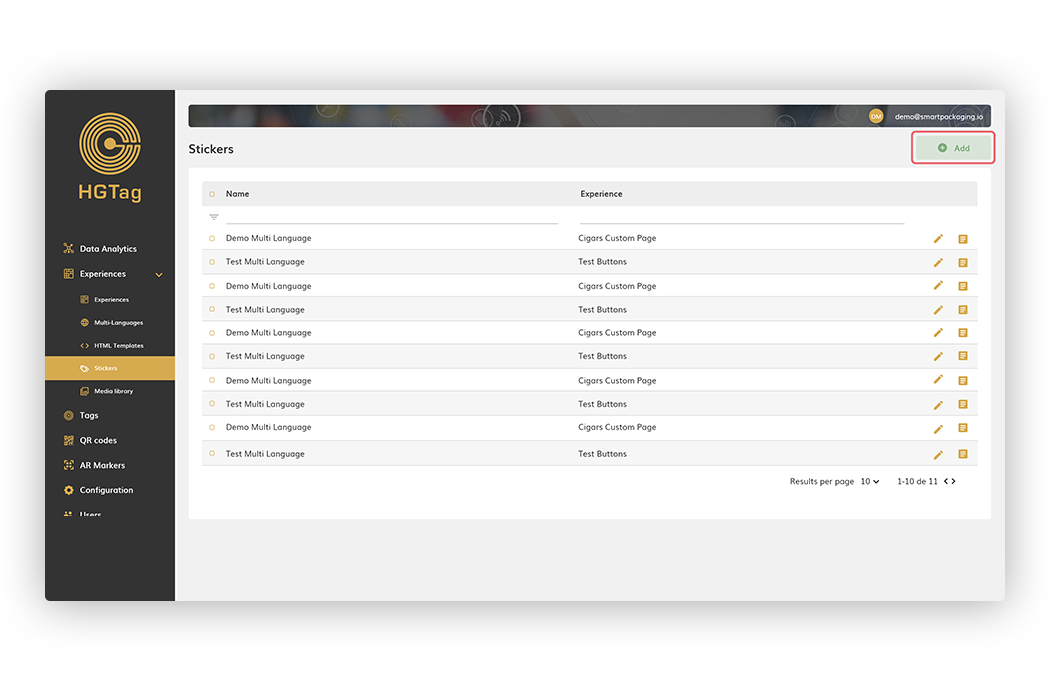
For the creation of a sticker we will use the ‘Add’ button that we have on the right side of the header:
For editing, we will click on the ‘Edit’ button on the right side.
The rest of the functionalities are common for both creation or editing.
The first data to be reported and mandatory are:
• Name: Label name
• Experience: experience related to the sticker we are creating/editing. We relate to an experience to be able to incorporate QR’s that has created that experience.
Next, the HTML editor is shown to be able to design the sticker. The functionalities of the editor are the same as those explained in section 4.1.3. of the Experiences. The only buttons that are typical of this section are those detailed below:
• View A4, A5, A6 (*1): Size of the editor view. You can choose between size A4, A5 or A6.
• Print (*2): Prints the designed label. Pressing the button will open the print window of the browser in which we are. From here you can finish configuring the properties that you want for the printing of the label.
• Paper Utils (*3): containers required for label design. One of the 3 elements (A4, A5 or A6 container) must be the first element to add in the design of the label, thus defining the size it will have.
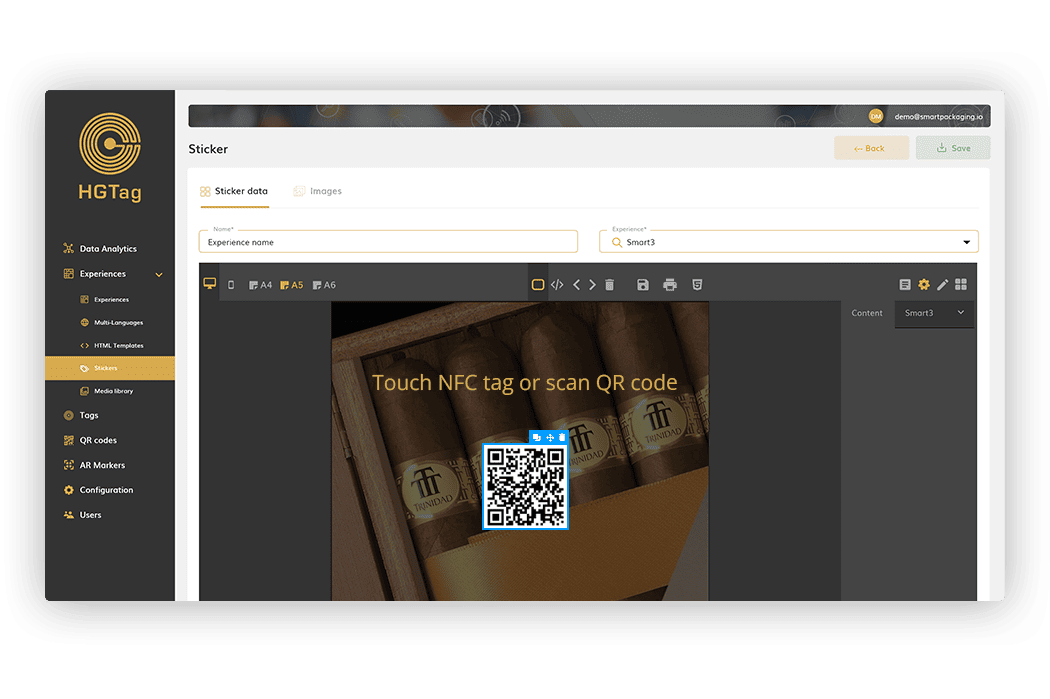
• QR Code (*4): element that allows you to add a QR to the design of the label. After adding the element it is necessary to indicate in the setting which QR you want to link (the names of the QR created for the experience associated with the sticker are shown).
After making the necessary changes, you have to remember to save both from the HTML editor (with the save icon) and then with the ‘Save’ button on the sticker page.
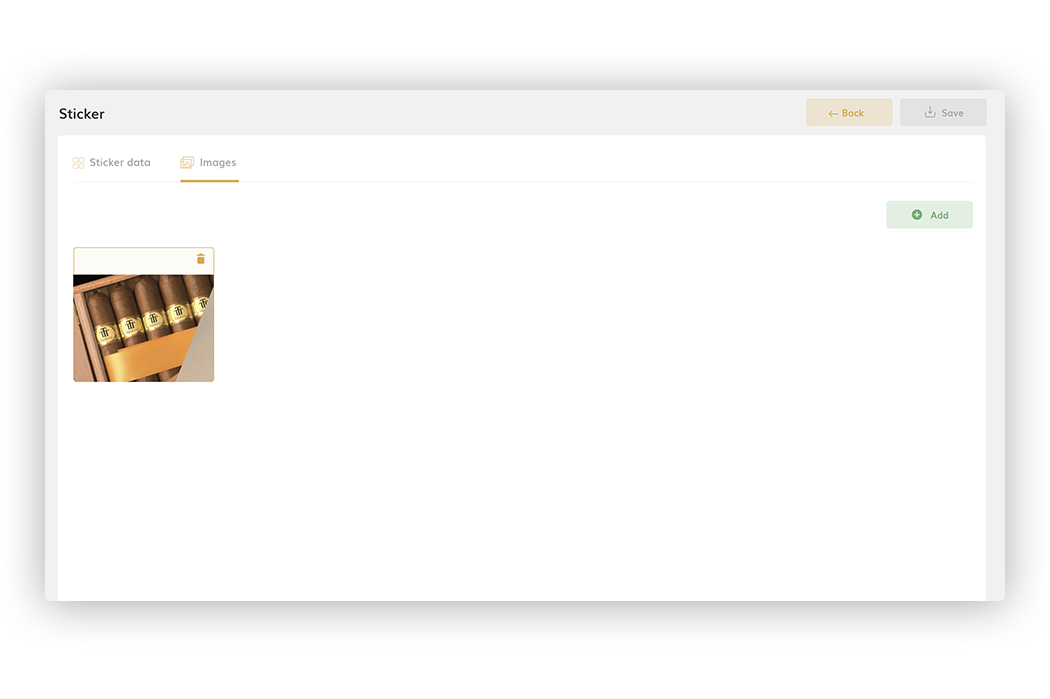
From here you can add all the images that are later used in the sticker (as it happens in the editing screen of an experience).
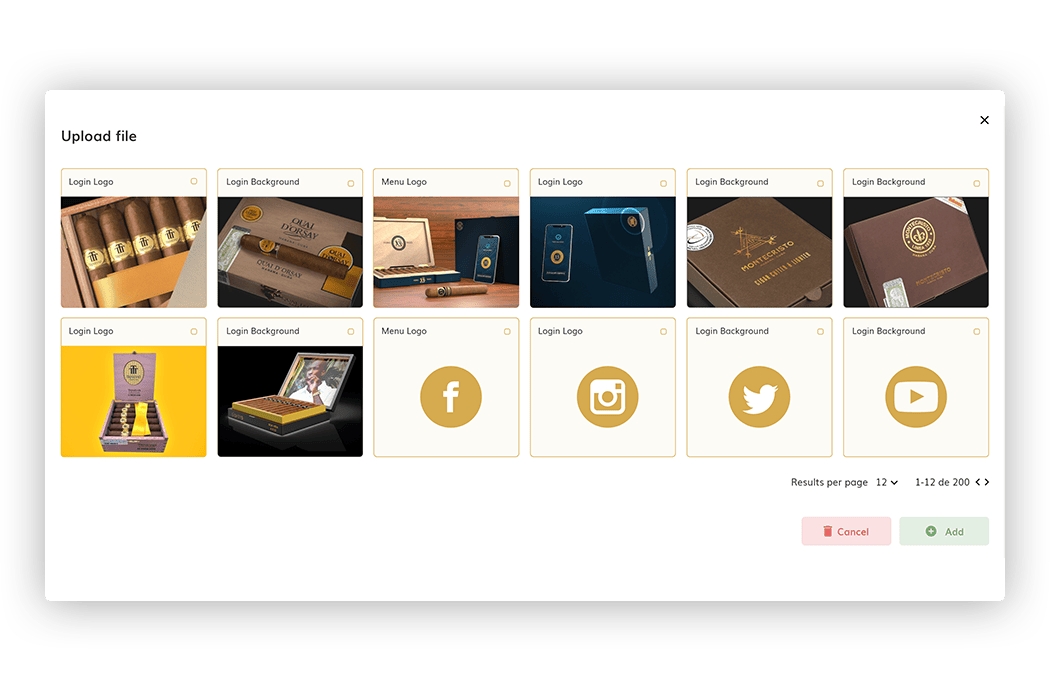
To add one or more images you can press the Add button and a screen will be shown with the thumbnails of those images that we have in the Media Library section, being able to select one or several at the same time.
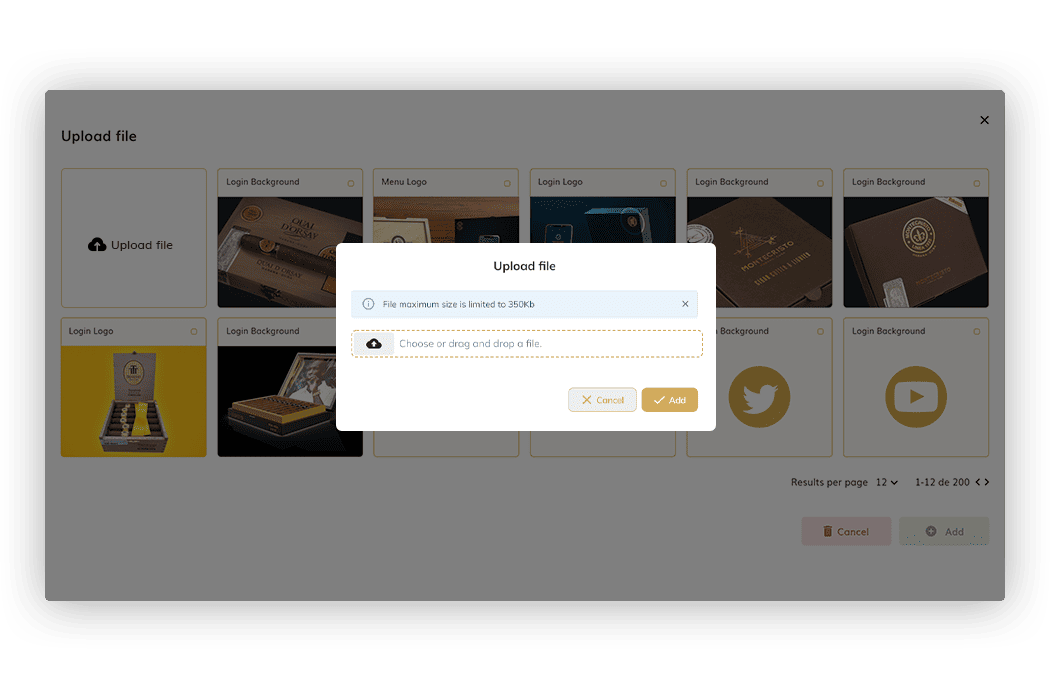
In case you want a new image that we do not yet have in the gallery, we can upload it by pressing Upload file and selecting from the browser or dragging and dropping.
To remove one or more tags, you can select them with the check field and press the Remove button: