The HGTag backoffice offers specific functionalities for the Production role, allowing you to manage products, create and send scan requests to configured readers, and consult statistics on the dashboard.

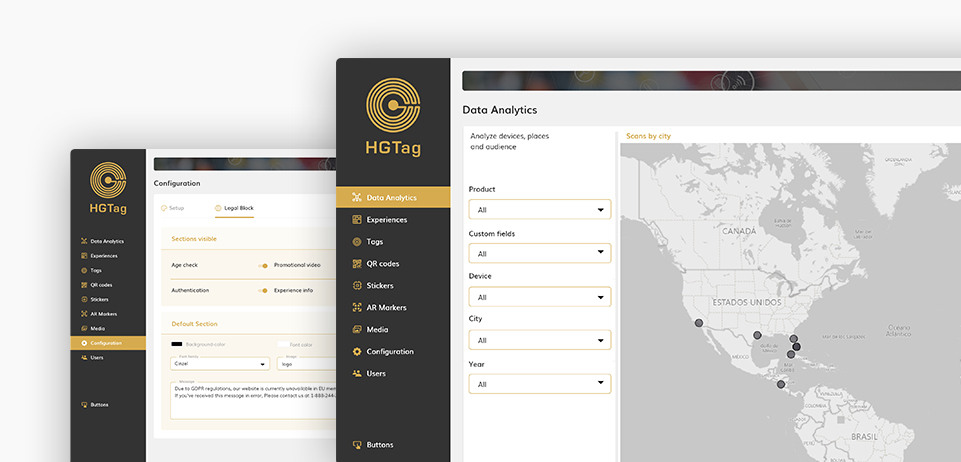
The HGTag backoffice offers specific functionalities for the Production role, allowing you to manage products, create and send scan requests to configured readers, and consult statistics on the dashboard.
The Production role consists of 4 sections:
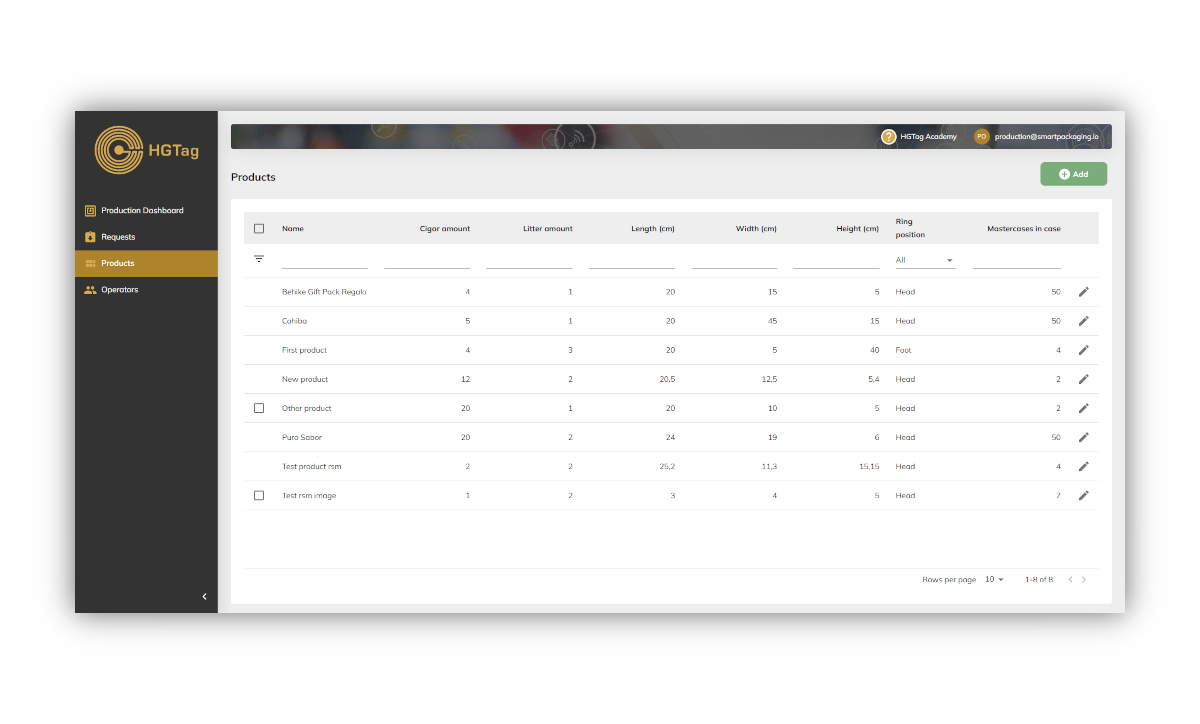
The Products section allows you to manage your platform products: create new products, edit, show and delete existing products.
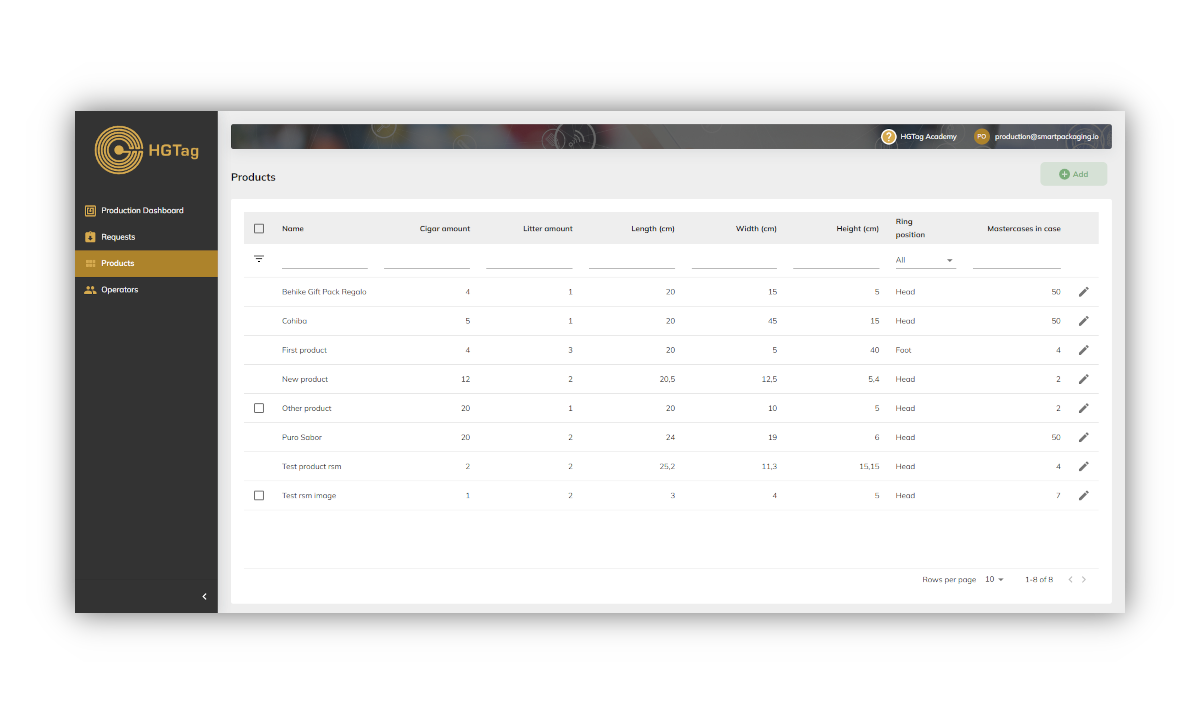
To create a new product we will use the Add button:
The data to be indicated will be:
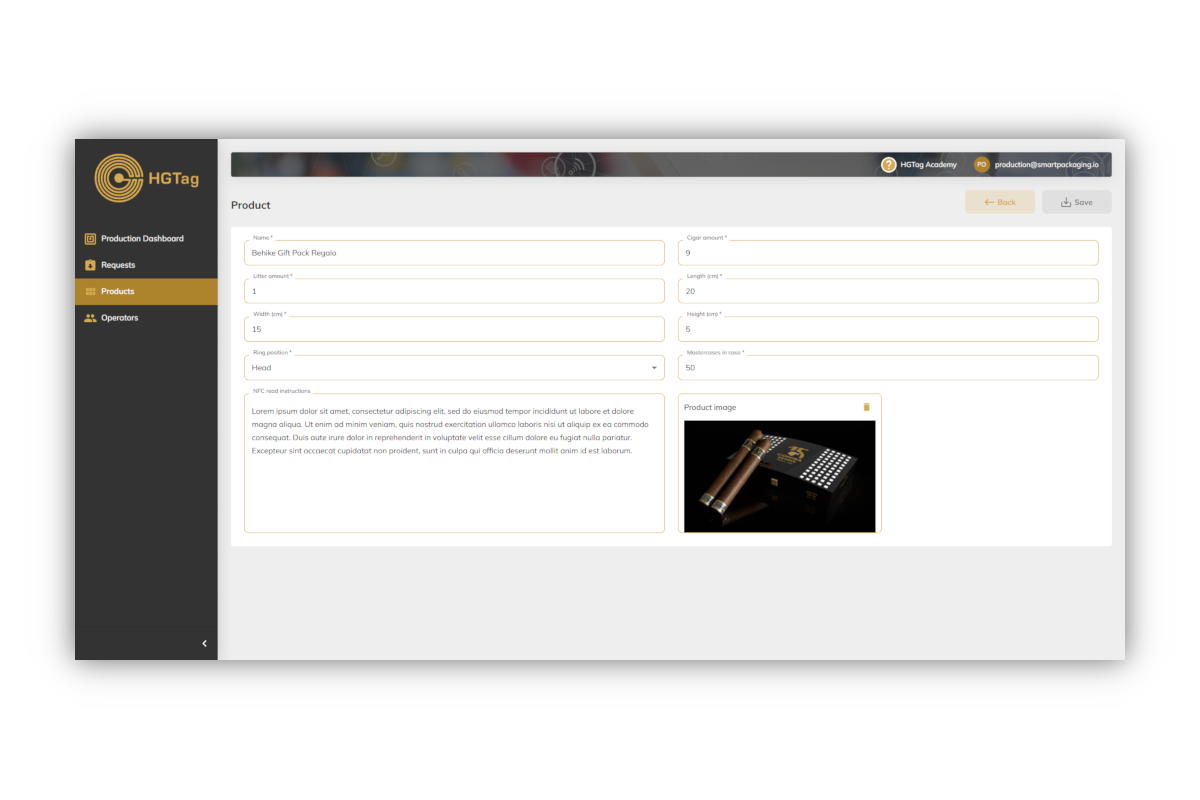
Once the data is indicated, we will press Save.
To modify a product, we will use the Edit button
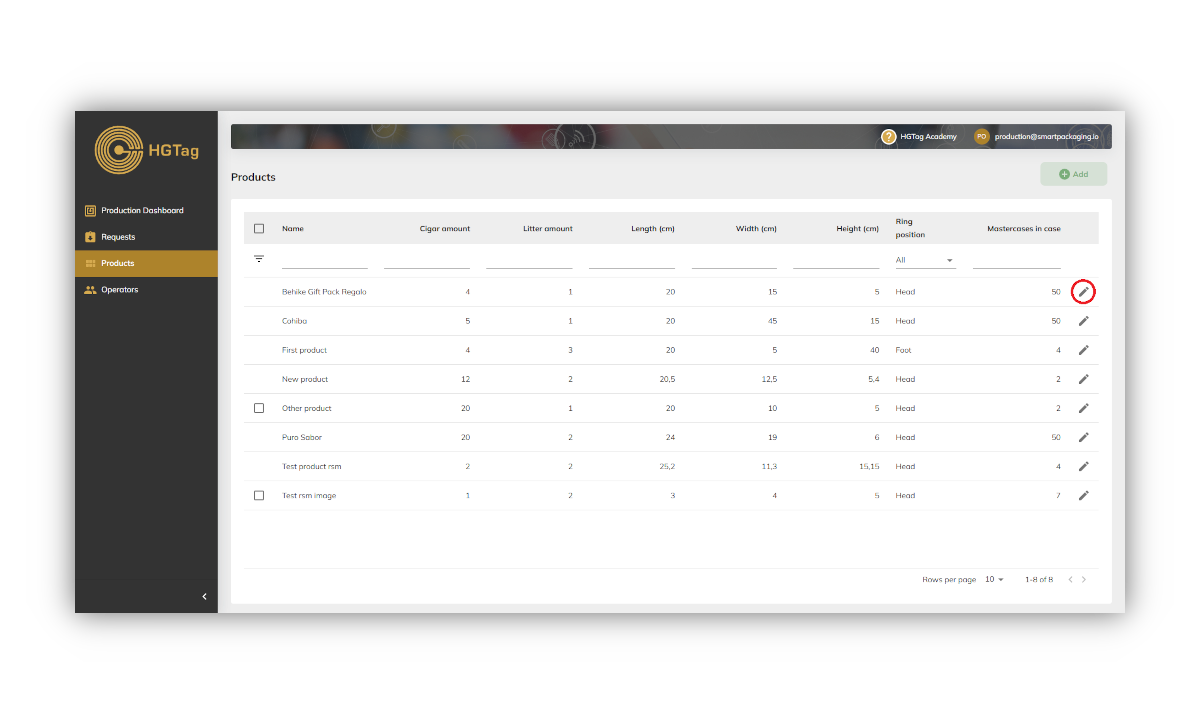
On the edit screen, we will modify the desired data and press the Save button.
To delete one or more products it is enough to select them with the check field and press the Remove button:
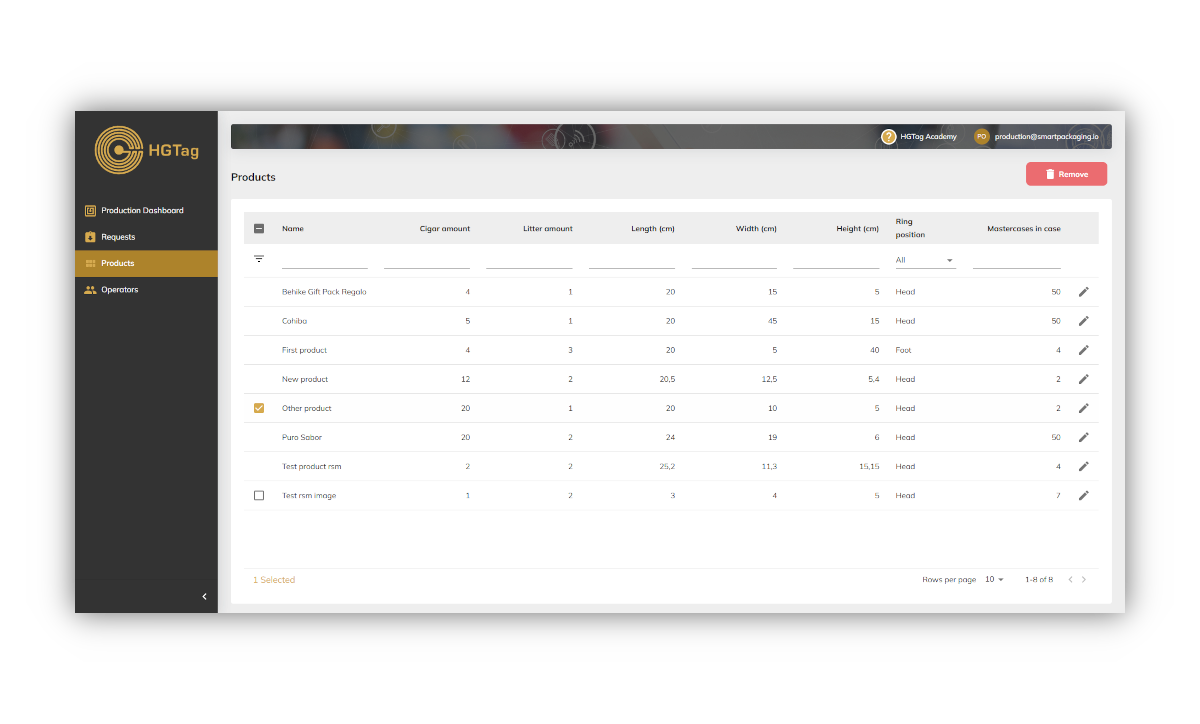
Products linked to experiences, requests, or other sections cannot be deleted and will not display the delete option.
The Operators section allows you to manage the operators responsible for scanning: create, edit, show and delete operators.
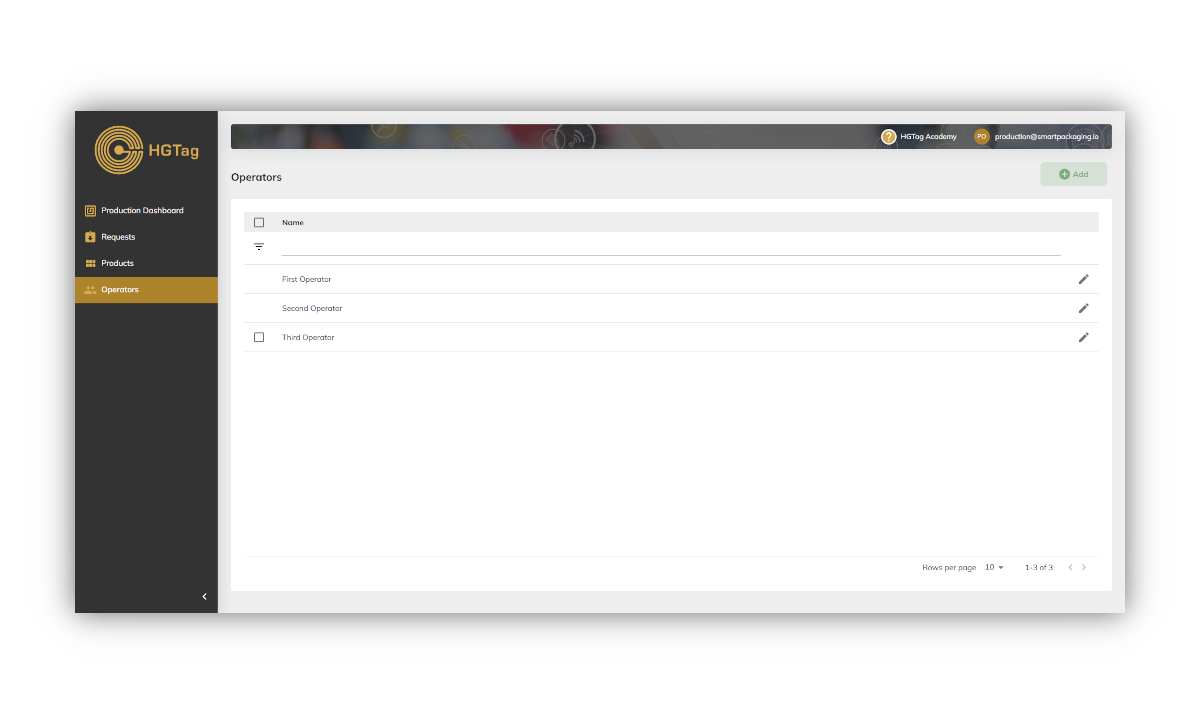
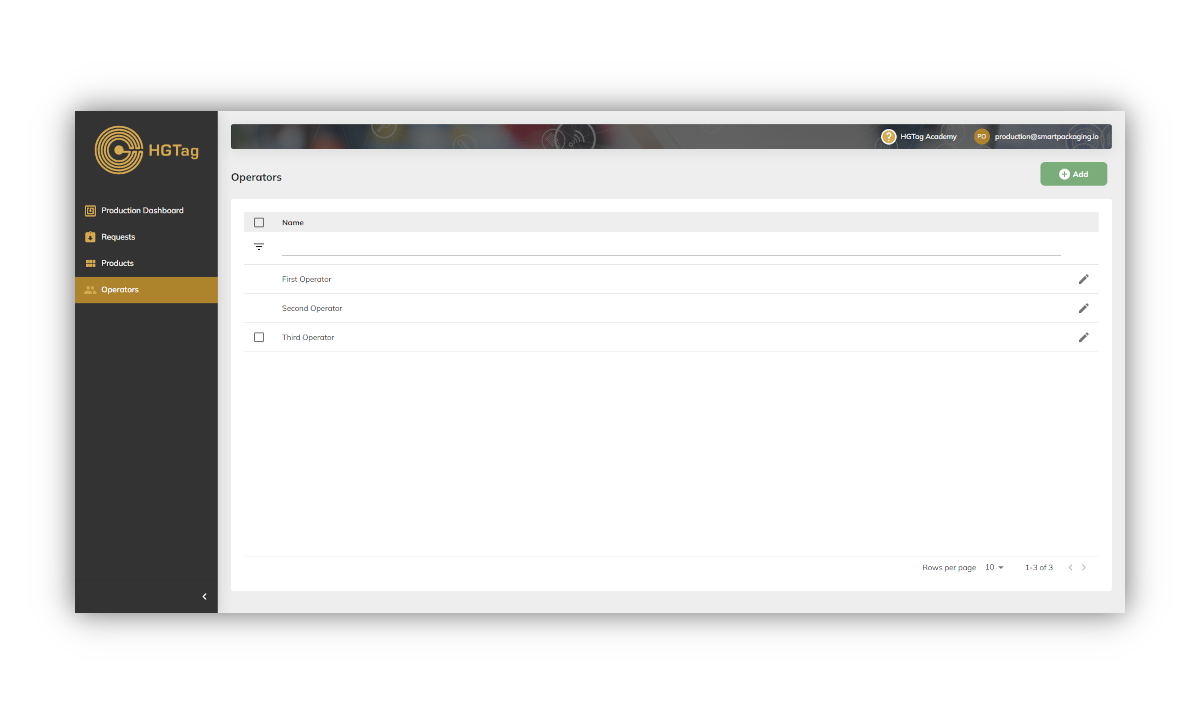
To create a new operator we will use the Add button:
The data to be indicated will be:
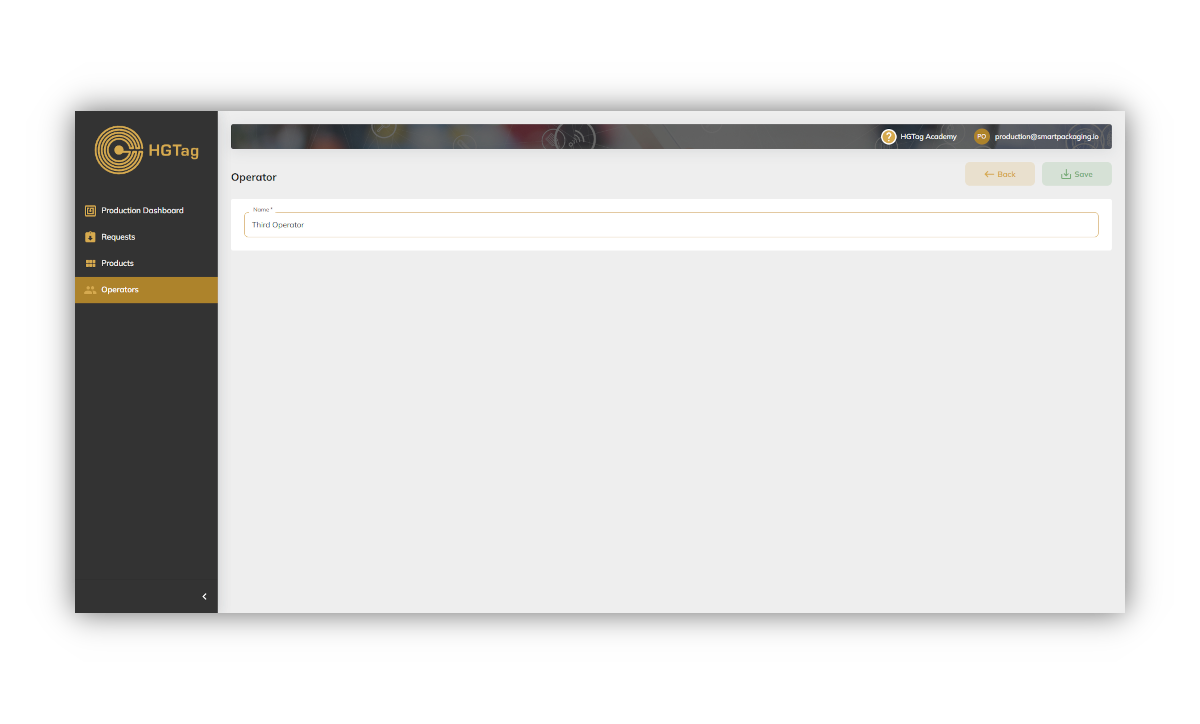
Once the data is indicated, we will press Save.
To modify an operator, we will use the Edit button
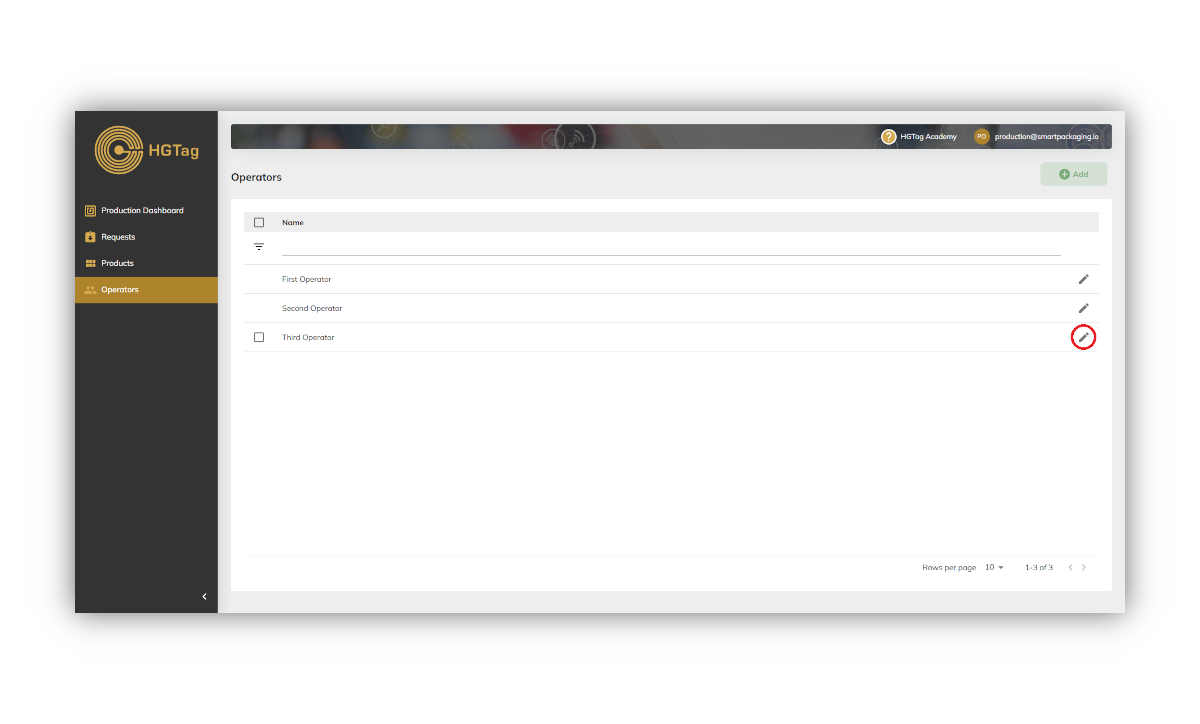
On the edit screen, we will modify the desired data and press the Save button.
To delete one or more operators it is enough to select them with the check field and press the Remove button:
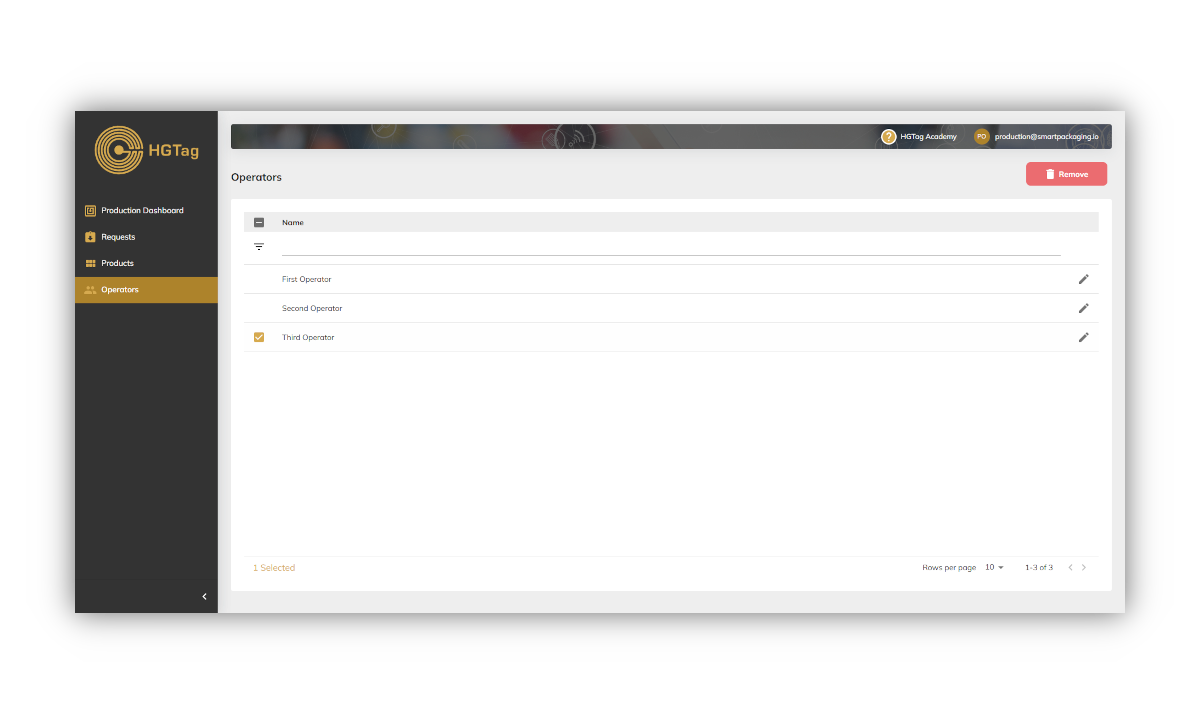
Operators linked to a request, cannot be deleted and will not display the delete option.
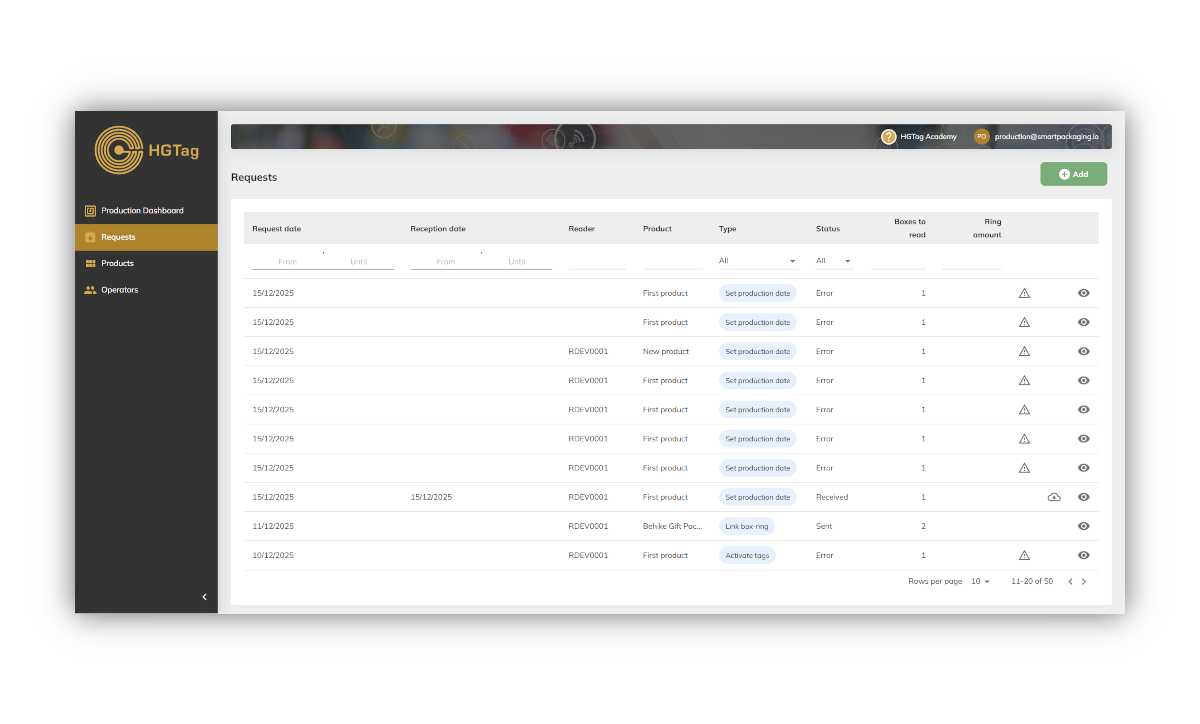
The Requests section allows you to create and send scan requests to system readers: link boxes with rings, activate or deactivate tags, or replace defective rings.
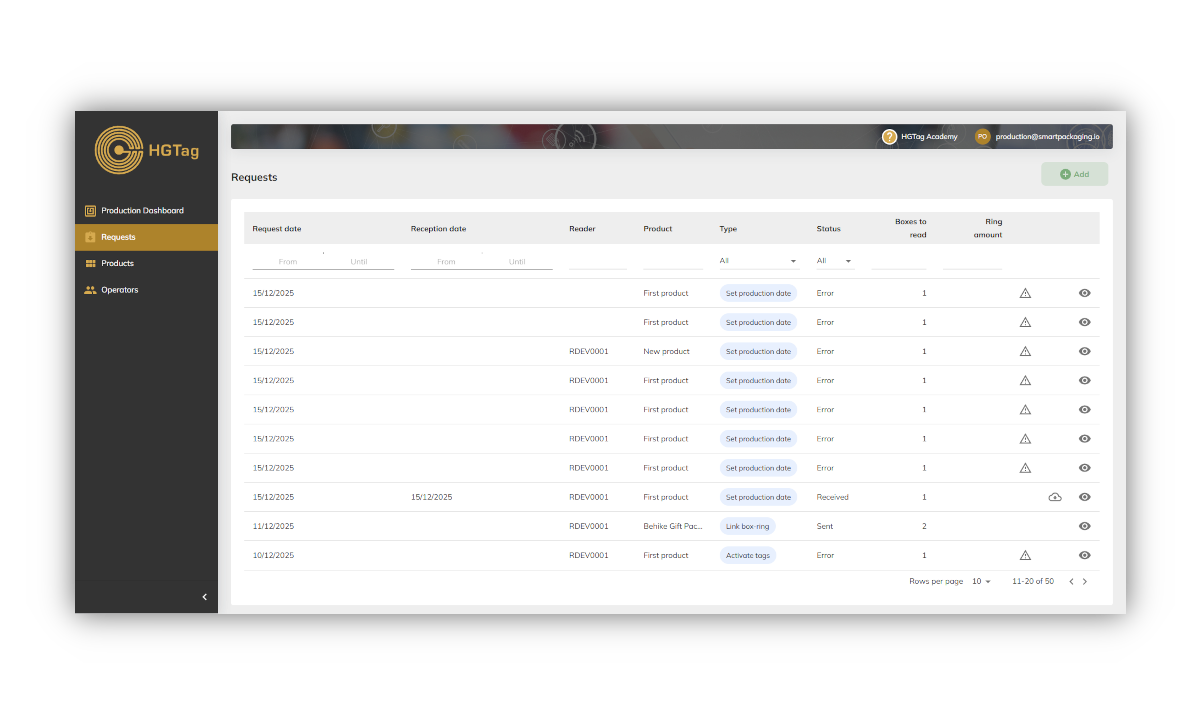
To create a new request, press the Add button in the top right corner.
A window will open where you must specify:
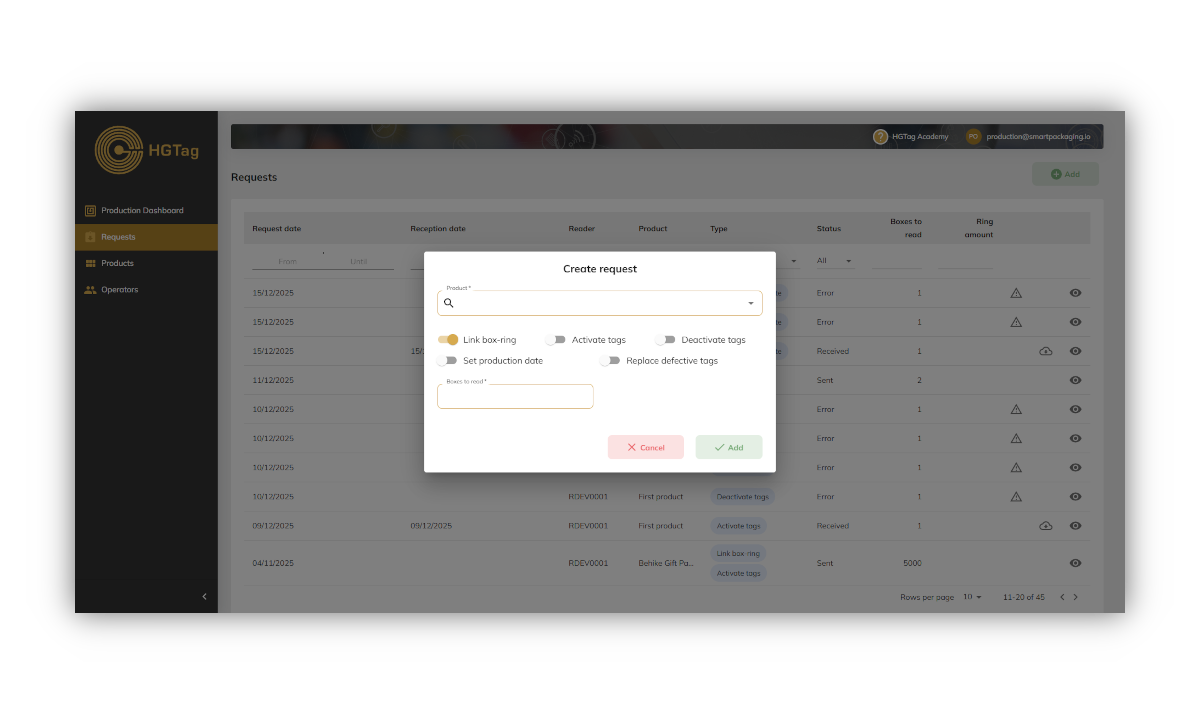
Press Add to register the request. It will be created in Sent status, pending processing by the reader.
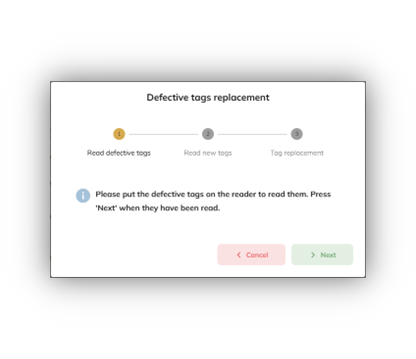
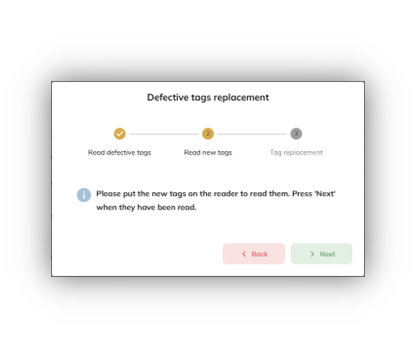
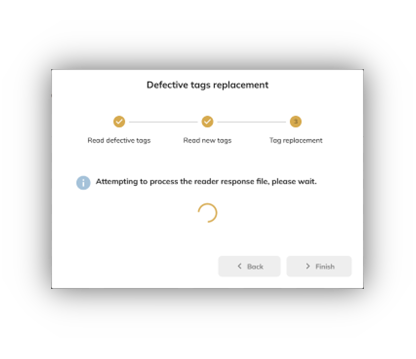
Once processed, requests change status based on the result:
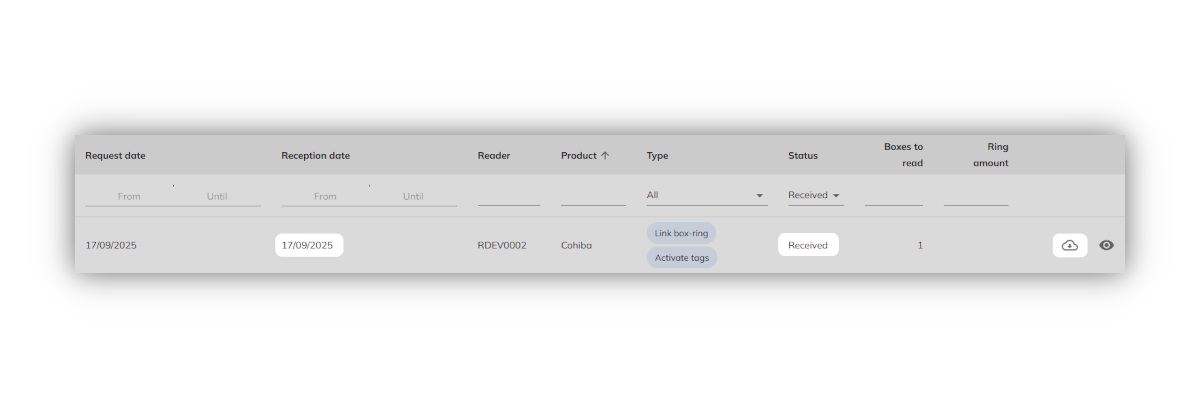
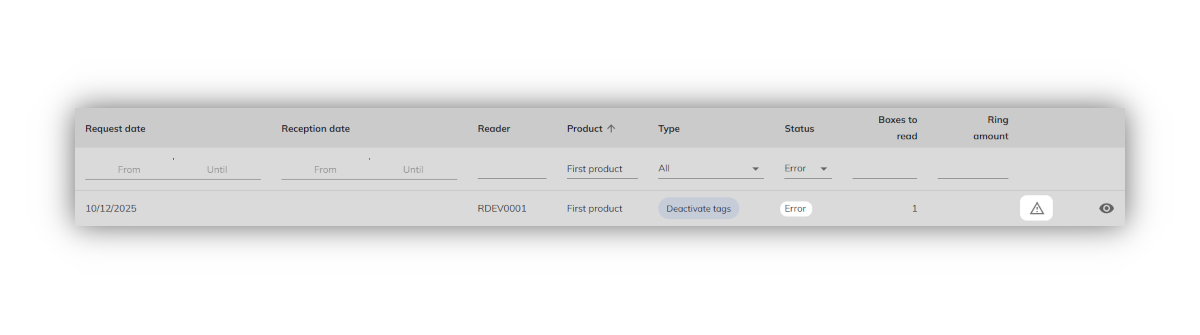
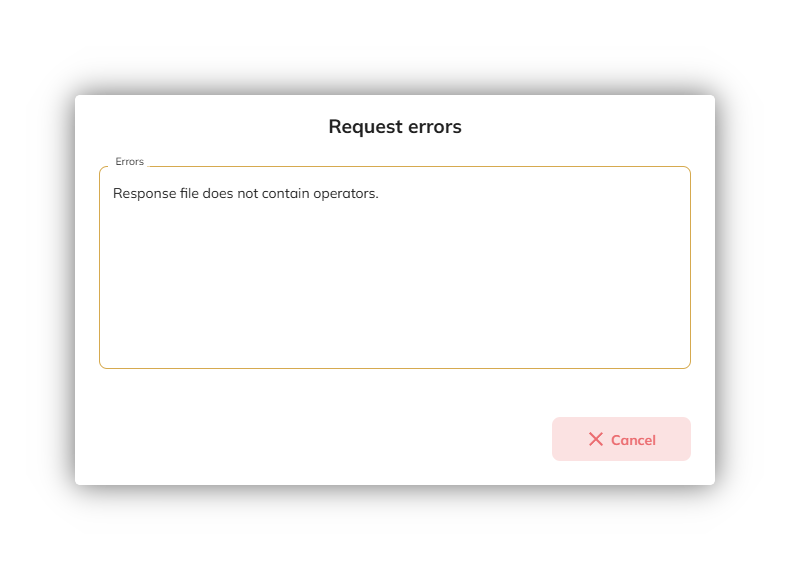
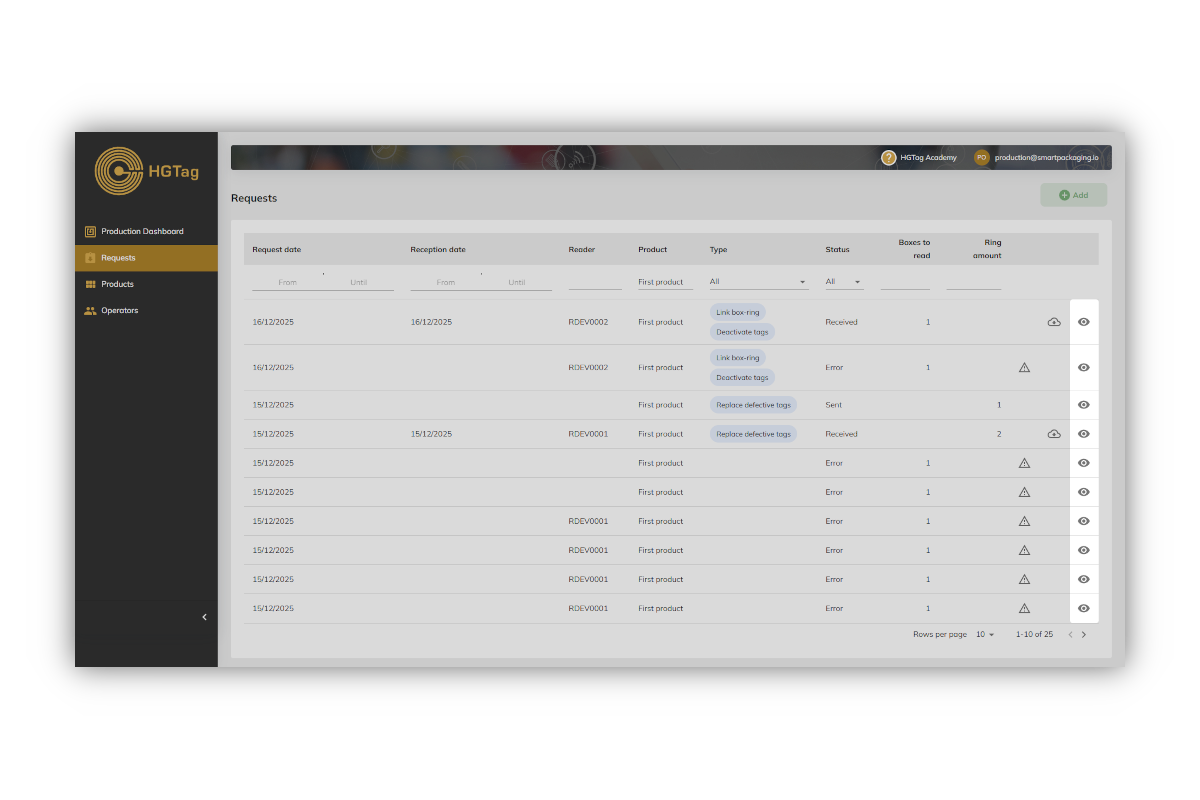
Once requests are processed, regardless of whether they change to Received or Error status, you can view their details by clicking on the eye icon:
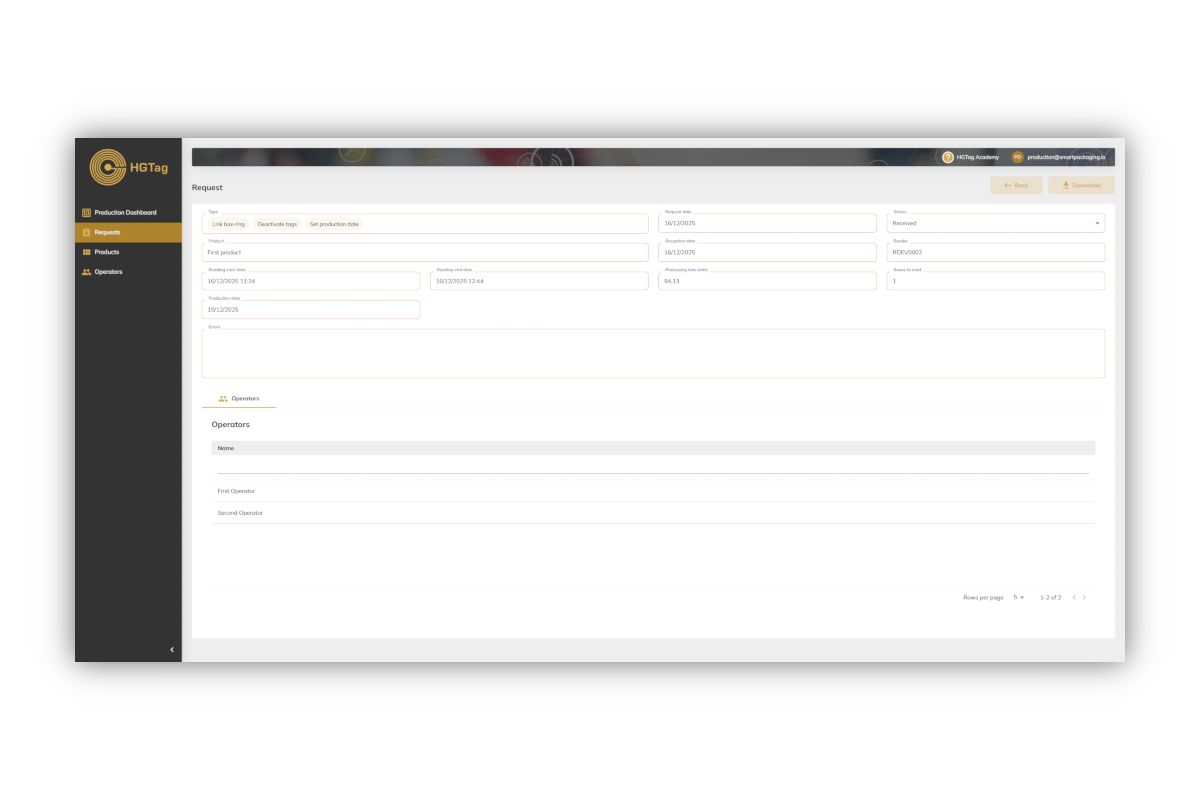
This view displays both the values specified in the request (at creation) and the values after processing, such as: start date, end date, processing time, the reader that executed the request, and the participating operators:
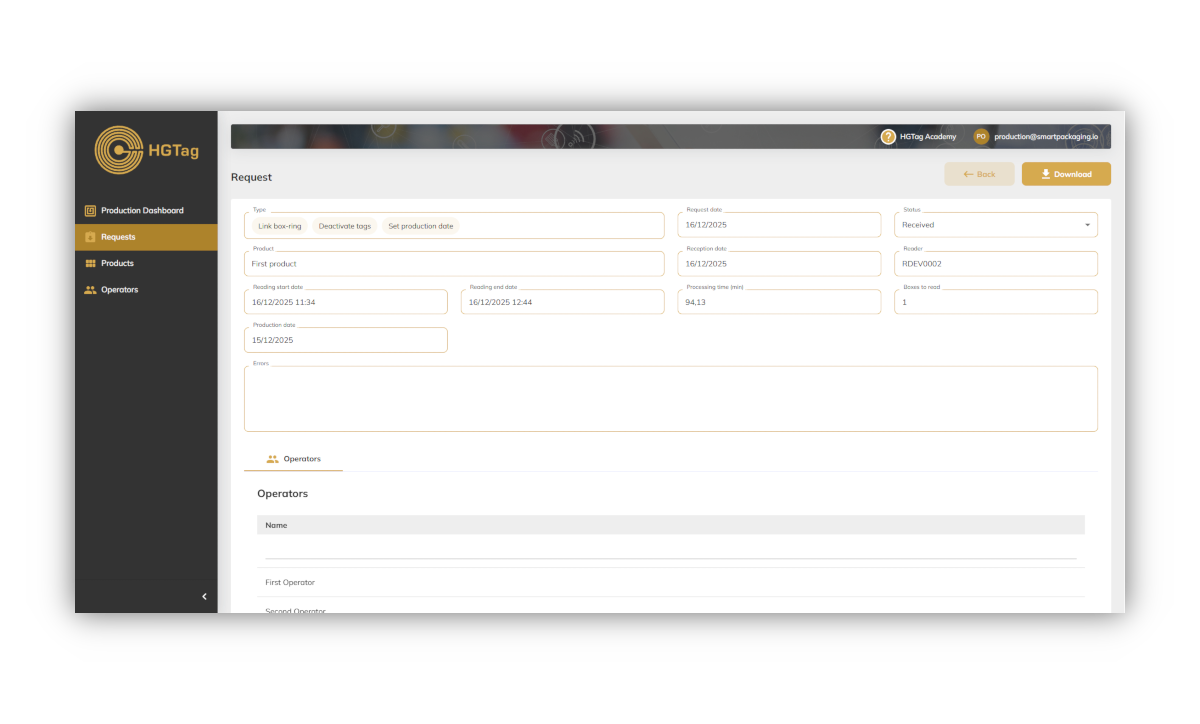
From this screen, you can also use the Download button to download the reader response file.
In the event that internet access is unavailable in the factories where the reading devices are located, the ‘Export’ button in the backoffice allows you to export the requests currently displayed in the list.
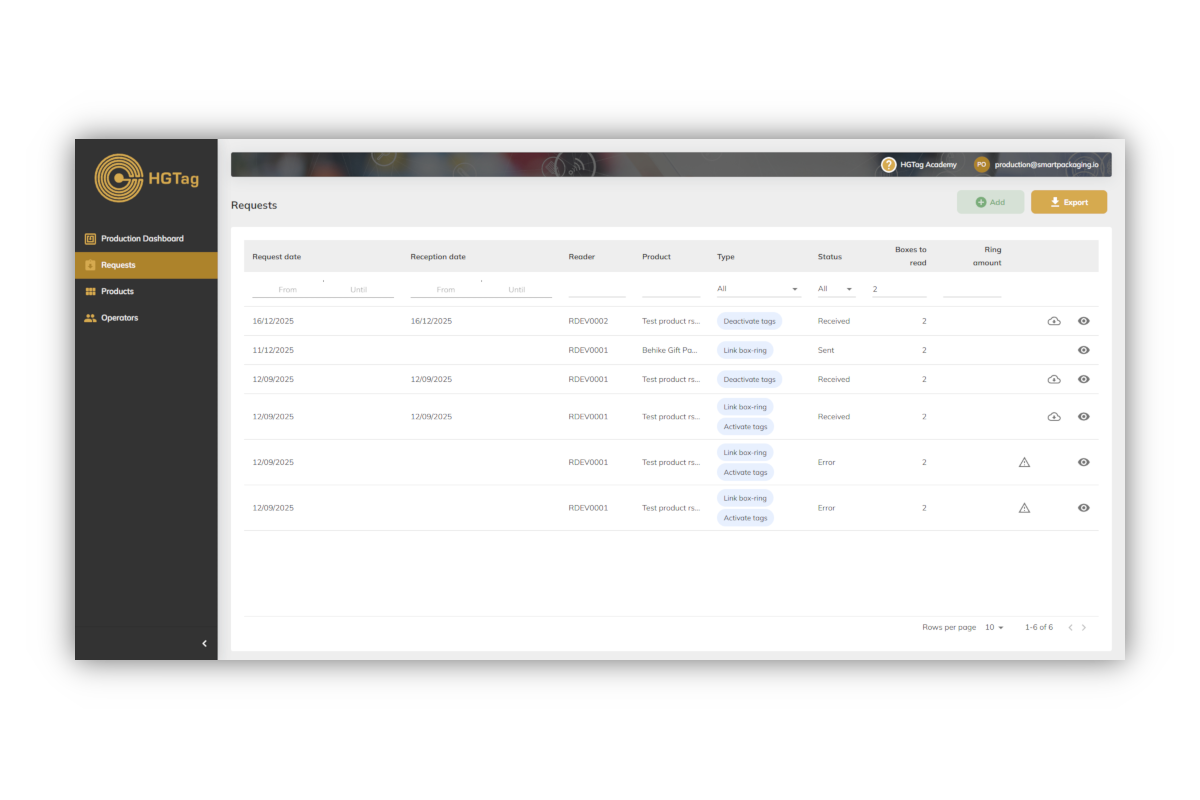
You can filter by any field (e.g., requests with ‘Sent’ status) to export only the necessary Requests.
Clicking the ‘Export’ button generates a ZIP file containing a JSON file for each request. This ZIP file can be saved to external storage and the files transferred to the machines to proceed with the required readings.
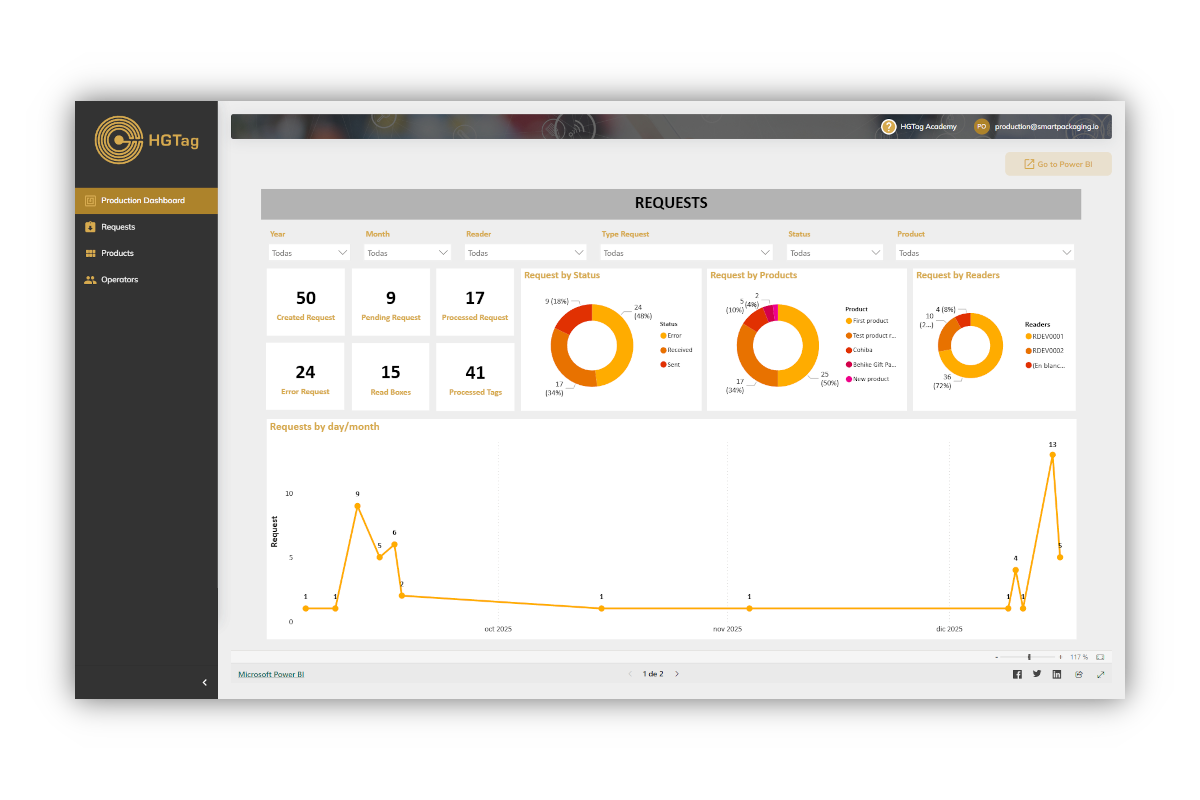
This section allows you to view statistics for the requests made.
From this panel, you can apply filters such as reader, request type, or product to narrow down the displayed information.
The dashboard graphically presents key activity data, such as the number and type of requests, reader usage, and the most scanned products.
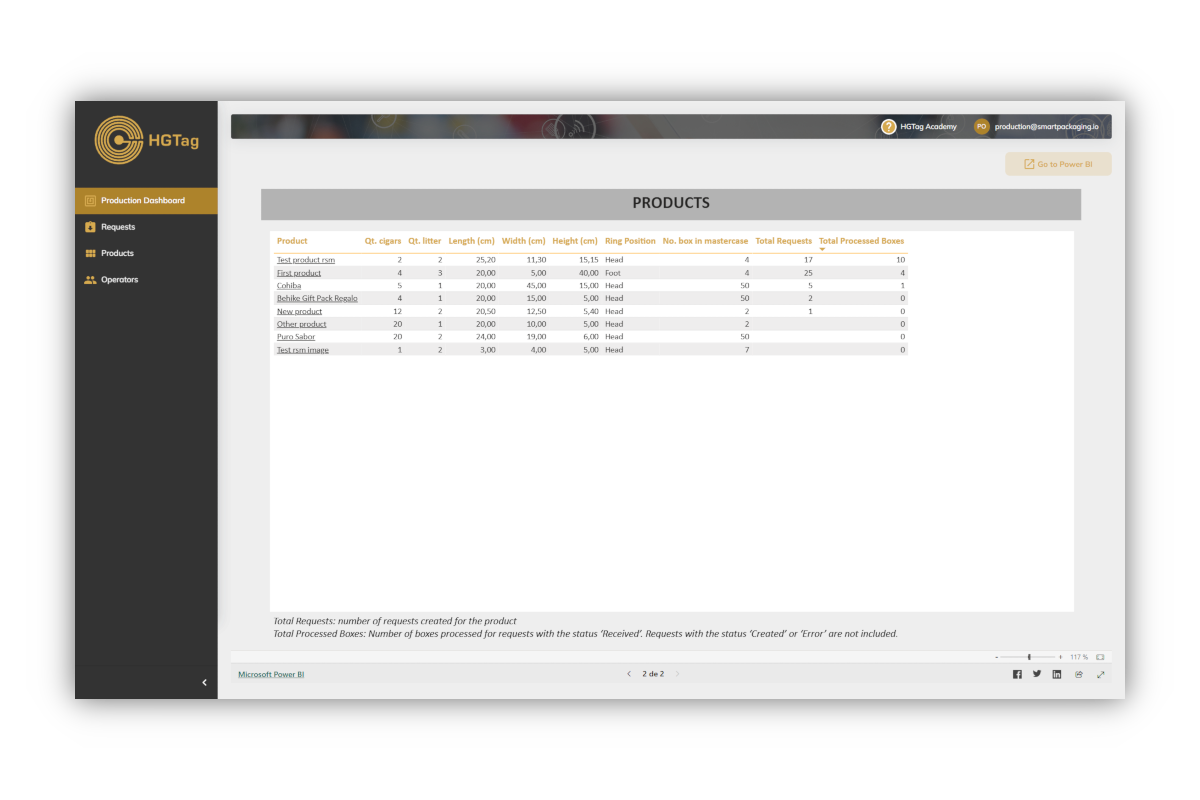
A second tab includes a list of existing products.
The list displays the information from the master record, as well as the total number of processed requests and the total boxes associated with the product.
Clicking on the product name link opens a new browser tab, directly accessing the product details in the master record.
If you have more questions you can access the different Tutorials available in this help, the Documentation or our FAQS.