The Multi-language section allows you to manage all multi-language experiences: show, add/edit and delete.
By default, 10 are displayed per page, being able to move to another page or modify the display per page from the pagination:

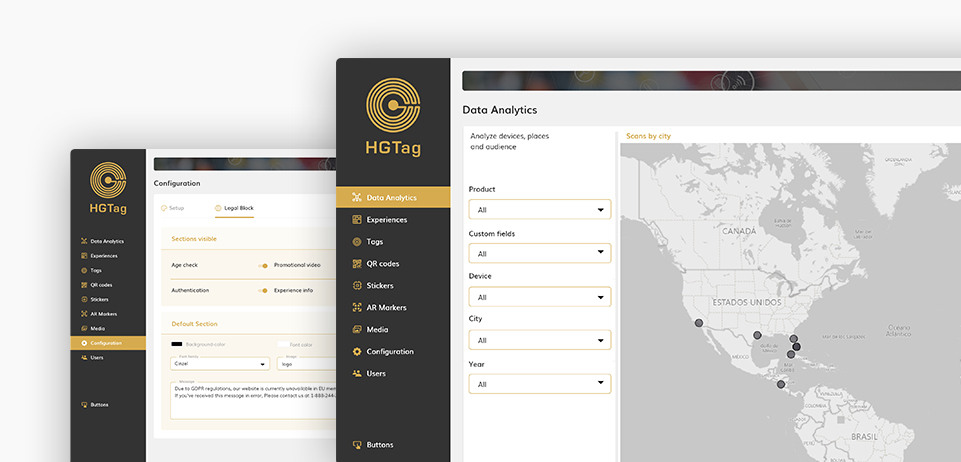
The Multi-language section allows you to manage all multi-language experiences: show, add/edit and delete.
By default, 10 are displayed per page, being able to move to another page or modify the display per page from the pagination:
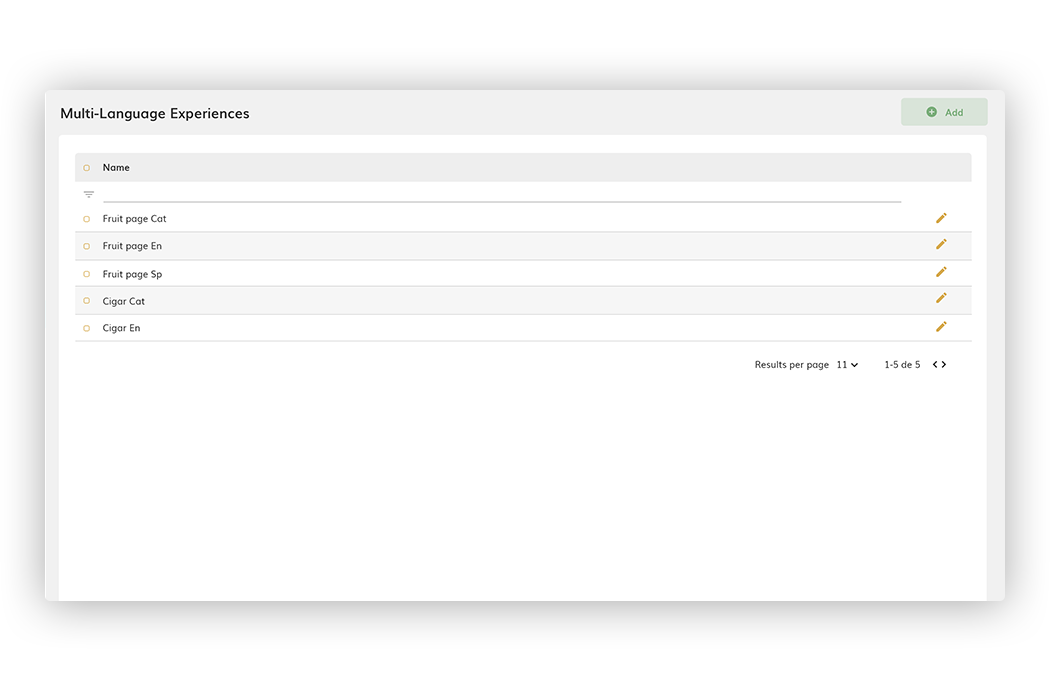
You can also filter the list data by the name of the multi-language experience. From the main list we can: create, edit and delete.
Before creating a multi-language experience, we must create an experience for each language we need. It is most efficient to create the experience for one language and then use the duplicate button for each new language to be configured, adjusting only the texts and/or images that are needed.
Later, in the multi-language section, we will create the parent experience that will group all the experiences:
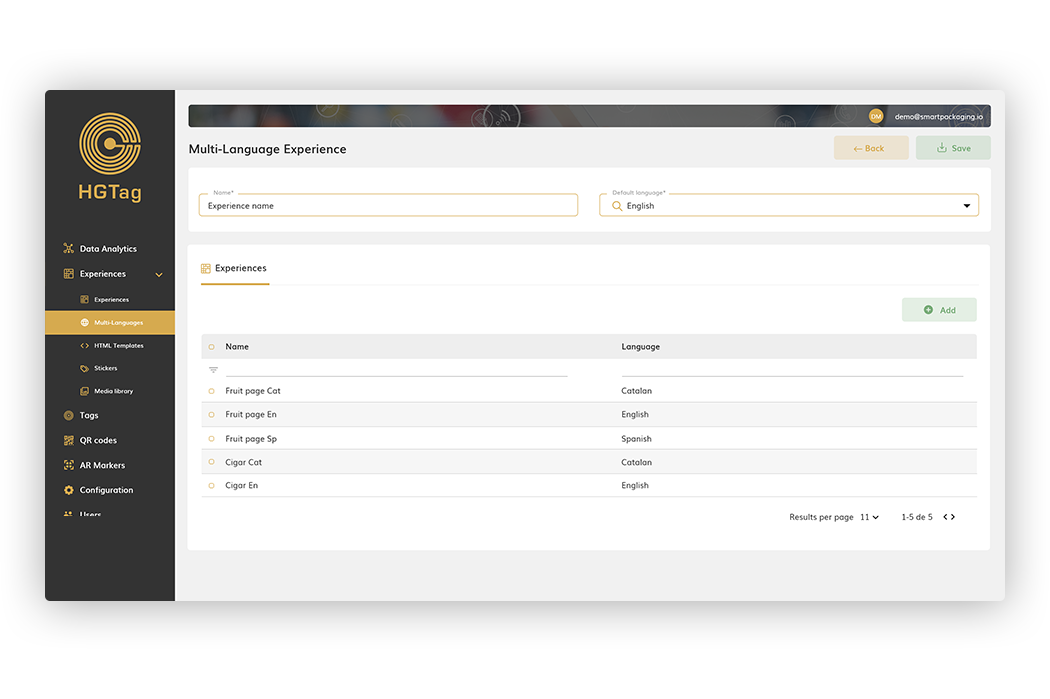
In the multi-language experience, in addition to indicating the name, it will be necessary to define the default language that will be shown to the user if, for their language, there is no specific experience.
Once the name and language are indicated, it will only be necessary to add in the Experiences tab all the experiences that will form this multi-language experience. Keep in mind that you can only add one experience for each language.
Remember that at any time you can edit the multi-language experience to add/remove experiences, as well as change the default language.
To delete one or more multi-language experiences, it is enough to select them with the check field and press the Remove button:
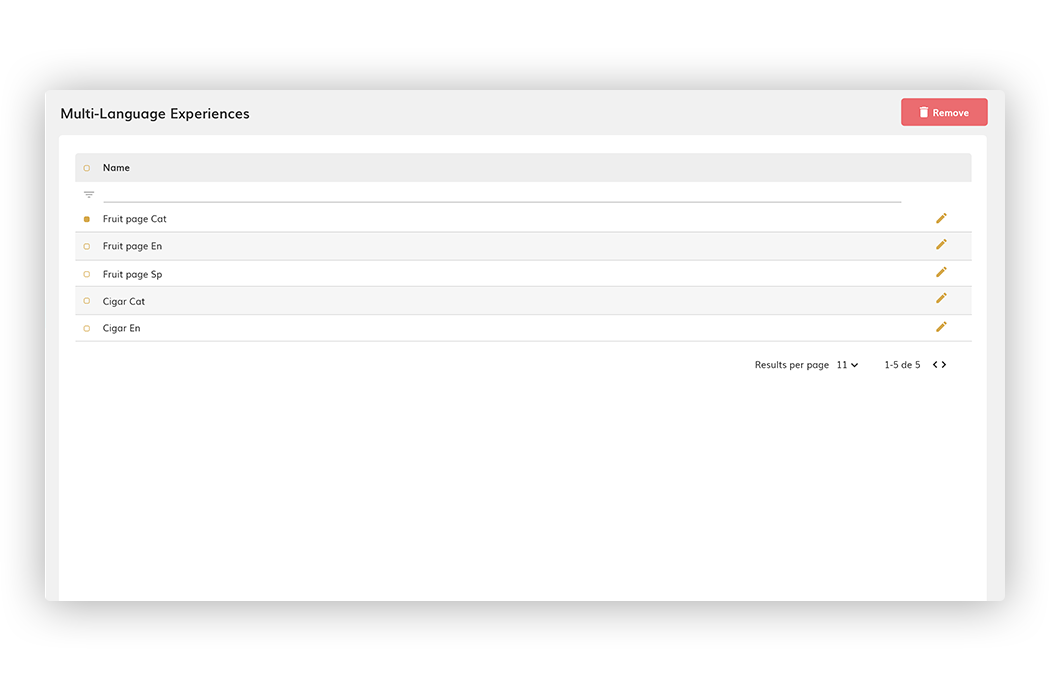
Keep in mind that you can not delete those multi-language experiences that have associated tags.
If you have more questions you can access the different Tutorials available in this help, the Documentation or our FAQS.