

New Media Library Section
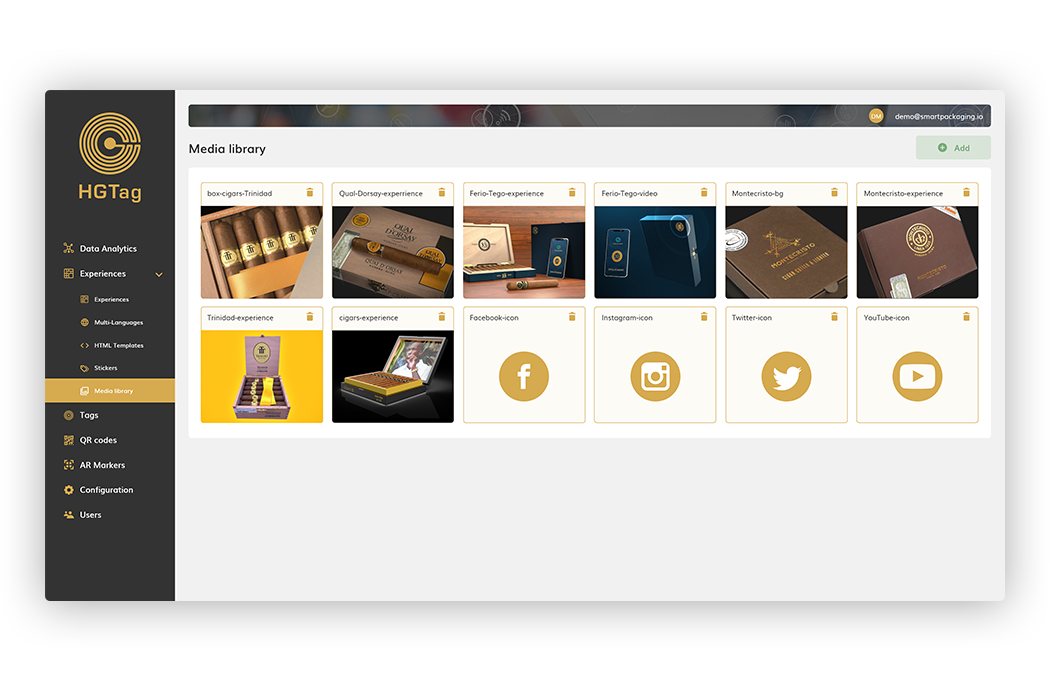
The Media Library section displays a gallery with all available images in your environment/backoffice that can be applied to other sections, such as, Experiences, Stickers, etc..
From the section you can add / delete images, as well as edit one to adjust the tag or add a link.
For more information see the following section in the documentation.
New options in Settings/Configuration
New blocks have been added in the Settings section:
Profile Block in Setup
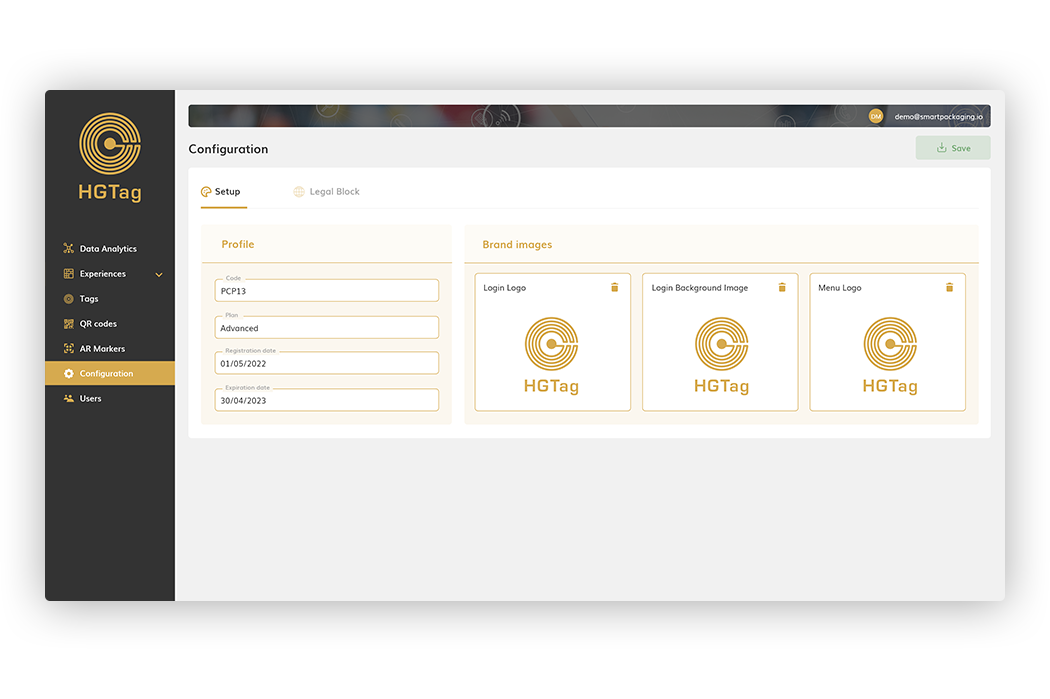
In addition to being able to modify the icons / background, from Setup we can see the following information of our profile:
- Client code
- Contracted Plan/Subscription
- Registration
- Expiration dates
- Default section Block in Legal Block
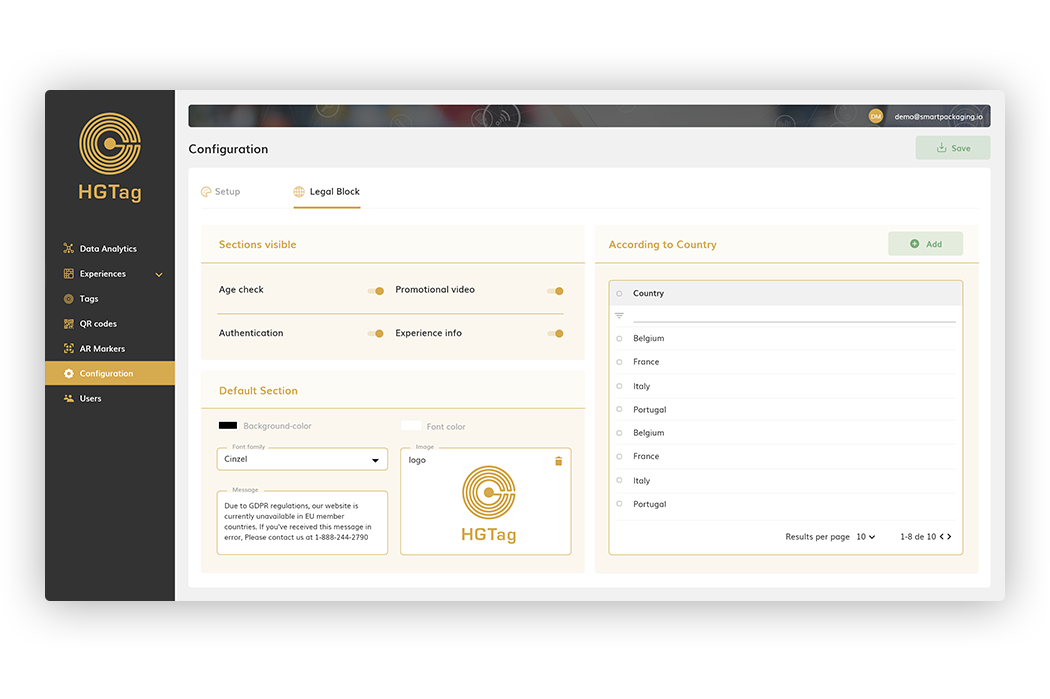
We have added the Default section that allows you to configure a default page when there is a legal block in the country where the experience is being scanned.
From here we can configure the following (if section is enabled/active):
- Font Color
- Background Color
- Font Family/Type
- Message
In the case of not activating any section of Active sections, this default page will be displayed directly. In case of activating a section, first that section will be displayed and the last page will be the one configured in Default section.
For more information see the following section in the documentation.
New HTML Templates section
From the HTML Templates section we can create/edit HTML templates and apply them to pages of the experience or in a sticker.
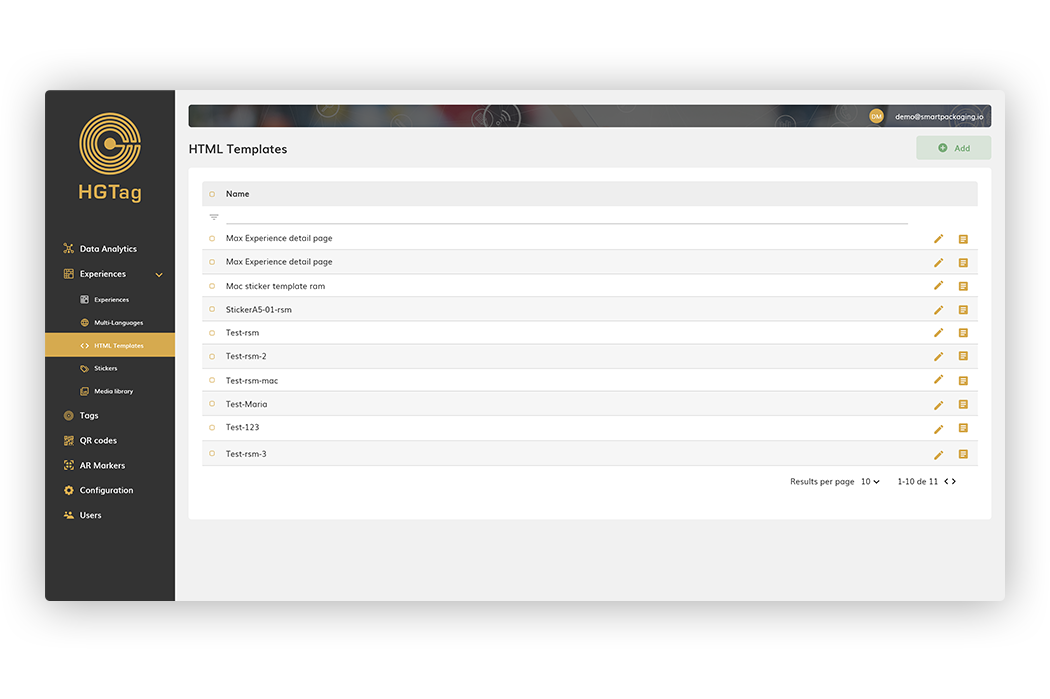
Managing the editor is similar to managing experiences. Only page layouts are prepared in this section. The page layouts are templates that can be used anywhere. Within the experience section, you edit the graphics, artworks, and overall content. See below:
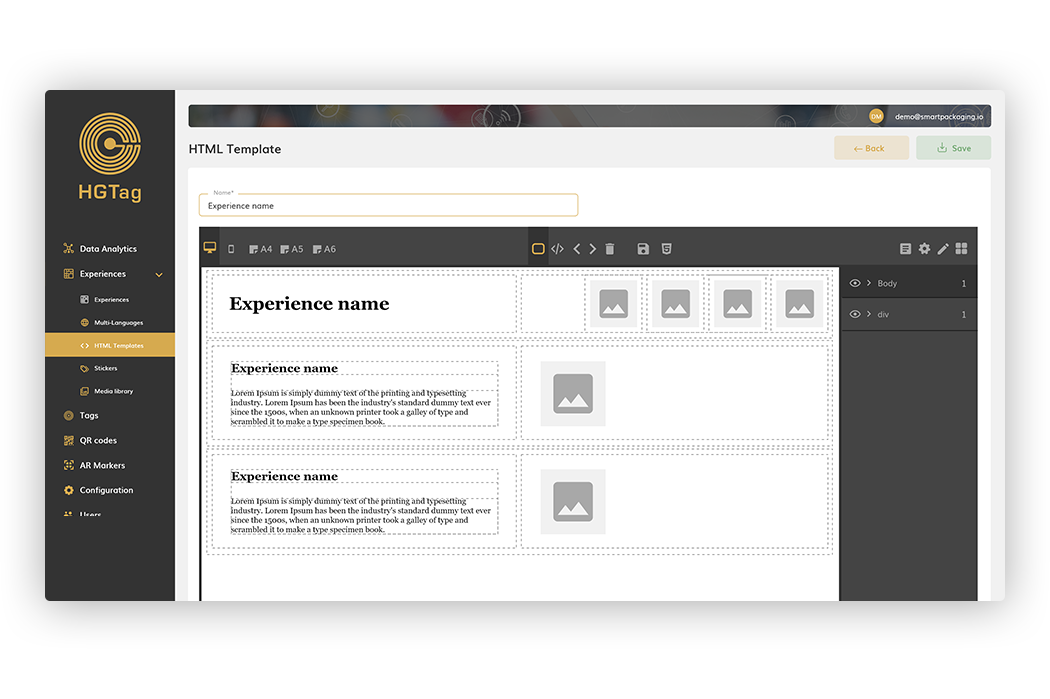
Options to duplicate and delete Templates are also available.
Once the HTML Template is created and saved, it will be available to be selected within the experience editor section. We’ll use the Select template button when edition of an experience or sticker to select the template we’d like to apply.
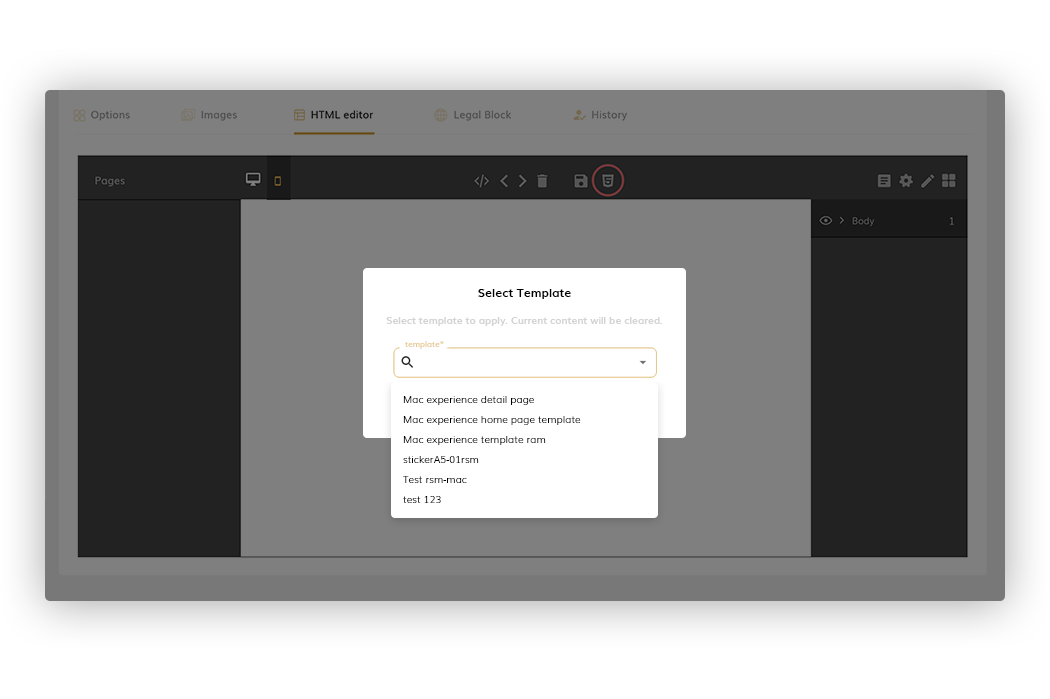
For more information see the following section in the documentation.